Handmade with Love

Showing posts with label WOW embossing. Show all posts
28 July 2024

WOW! Embossing Powder July 2024 New Release Hop and Giveaway


I’m excited to be joining WOW Embossing Powder to celebrate their July 2024 release! It's a BUMPER release, filled with Embossing Sparkles, Fab Foils and even a completely NEW product line; Mixed Media Additives!

The Design Team and special Guests are each sharing inspiration using this gorgeous new release and you’re invited to join the party! 🥳


WOW are generously offering THREE lucky winners the ENTIRE July 2024 release, and you can get all of the details on how to enter further down this post. First, let’s get straight to the inspiration!


For my project today, I used one of the gorgeous new Fab Foils Deepest Darkest Crimson. This is a beautiful colour (it may be my new favourite foil!) and combined with the other 2 new foils, it gives so many ideas.....especially Autumn!


I decided to foil the leaf background from the
Fab Foilers Pattern Art (again giving me those Autumn leaves changing vibes) with the foil using my laminator. Once it was foiled I coloured the leaves using green and teal alcohol markers. I tried not to go too heavy over the foiled areas, as not to possibly disturb the foil and remove some of it. For the sentiment I foiled a small piece of the Fab Foilers Solid Panel, just big enough for my sentiment and for the smaller sub sentiment it was from the Fab Foilers Sweet Sentiments.

It was all adhered to my ivory A2 cardbase and the sentiments were adhered using liquid adhesive and foam tape. A black shadow layer was cut for the base of the sentiment as well.


Giveaway Info


We are so excited about this amazing new mixed media release, that we are hopping over 3 different platforms to give YOU the best chance to win!

WOW are generously offering THREE goodie bags that will contain the entire July 2024 release, worth over $70!


This post is part of the Blog Hop, so you just need to leave a comment on this post before 6pm BST on the 1st of August. You’ll find the link to the next awesome designer further down this post, or you can go straight to the WOW Embossing Powder Blog post to start from the beginning.

One lucky winner will be selected from the comments left across this hop, so the more posts you leave a comment on, the more chances you have to win!


Don’t forget to find us on Instagram and Youtube for even more chances to be a lucky winner!
(Further details are included on the WOW Embossing blog post.)


Thank you for checking out my post today, if you like what you see, then don’t forget to follow and/or subscribe so you don’t miss any of my content!


You should have got to me from Nicki Baxley

Next up in the hop is Quyen Rabet


The full lineup is at the bottom of this post, or head to WOW to start at the beginning!


Blog Hop Lineup


WOW Embossing 

Aditi Mahajan

Sarah Phelan

Rick Adkins

Larissa Heskett 

Nicki Baxley

Michelle Burnier 

Quyen Rabet

Jayne Vaughan

Rebecca Keppel

Amanda Fitterer

Natasha Davies


Supplies Used


30 June 2024

WOW! Embossing Powder June 2024 New Release Hop!


I’m excited to be joining WOW Embossing Powder & Seth Apter to celebrate their latest release of fabulous Mixed Media Embossing Powders! The Design Team and special Guests are each sharing inspiration using this gorgeous new release and you’re invited to join the party! 🥳

WOW! are generously offering THREE lucky winners the entire June 2024 release, and you can get all of the details on how to enter further down this post. First, let’s get straight to the inspiration!

WOW! has come out with 2 new gorgeous mixed media Quads - Building Blocks and Citrus. For my project I used the Citrus. These powders are full of gorgeous, fun and bright colour and texture! Although they are additions to the range of mixed media powders, I thought how amazing these colours would be in a CAS way. I wanted these powders to shine and take all the spotlight!

Create the background by diecutting a piece of smooth white cardstock using a patterned cover die, as this would add interest to the background without deterring away from the focal point....the powders. Next take 4 pieces of cardstock cut approximately 3/4" high (or as high as you need to fit your diecut) and as long as you'd need to fit your sentiment diecut...in my case they were cut to 4" long. Go direct to the cardstock strips with your embossing inkpad or vice versa (press your paper strips to your inkpad) and ensure you get a full coverage of ink on the paper. Sprinkle each embossing powder on 1 piece of cardstock each (you will have 4 different colours in the end) and heat emboss from underneath.

Adhere each embossed strip to a piece of thin copy paper, using double sided adhesive, starting with Rusty, Tomato,, Kiwi Gold and finishing with Olive. Diecut the shadow layer of the sentiment from these embossed strips and then the more intricate top layer of the sentiment from the same smooth white cardstock as used for the background.


Heat emboss in Opaque Bright White embossing powder the smaller sentiment on a piece of green cardstock that coordinates with the Olive embossing powder and then diecut the small square speech bubble. Adhere the 2 sentiments on the background using liquid adhesive for the large piece and foam adhesive for the smaller one. Add to an A2 cardbase.


For the embellishments diecut a small heart from the leftover Olive heat embossed cardstock strip. And did you know that you can actually make matching embellishments too...as in pearls??? I took 3 white flat back pearls in various sizes and adhered them to a piece of masking tape. Take the tape with the pearls and go direct to the embossing ink pad and do some ink smooshing (exactly the same technique as you do for the cardstock) and ensure that the pearls are fully covered with the ink. Leaving your pearls on the masking tape, sprinkle on the Rusty powder and make sure that they are completely covered. Again, leaving the pearls on the tape, heat set the powders using your heat embossing tool, heating from above but using the lower of the 2 speeds on the WOW! Heat Embossing Tool. Using the lower of the 2 speeds will help to cut back on any stray bits of powder that may fly away, since we are heating from above and this is a textured powder. Once heat set, remove the pearls and adhere to your background along wiht the small diecut heart.

Giveaway Info

We are so excited about this amazing new mixed media release, that we are hopping along over 3 different platforms to give YOU the best chance to win!

WOW are generously offering THREE goodie bags that will contain the entire June 2024 release.

This post is part of the Blog Hop, so you just need to leave a comment on this post before 6pm BST on the 3rd July. You’ll find the link to the next awesome designer further down this post, or you can go straight to the WOW Embossing Powder Blog post to start from the beginning.


One lucky winner will be selected from the comments left across this hop, so the more posts you leave a comment on, the more chances you have to win!

Don’t forget to find us on Instagram and Youtube for even more chances to be a lucky winner!

Further details are included on the WOW Embossing blog post.


Hop Details


Thank you for checking out my post today, if you like what you see then don’t forget to follow/subscribe/join my mailing list so you don’t miss any of my content!


You should have got to me from Lisa Bzibziak

Next up in the hop is Natasha Davies


The full lineup is at the bottom of this post, or head to WOW Embossing  to start at the beginning!


Supplies Used:


15 April 2022

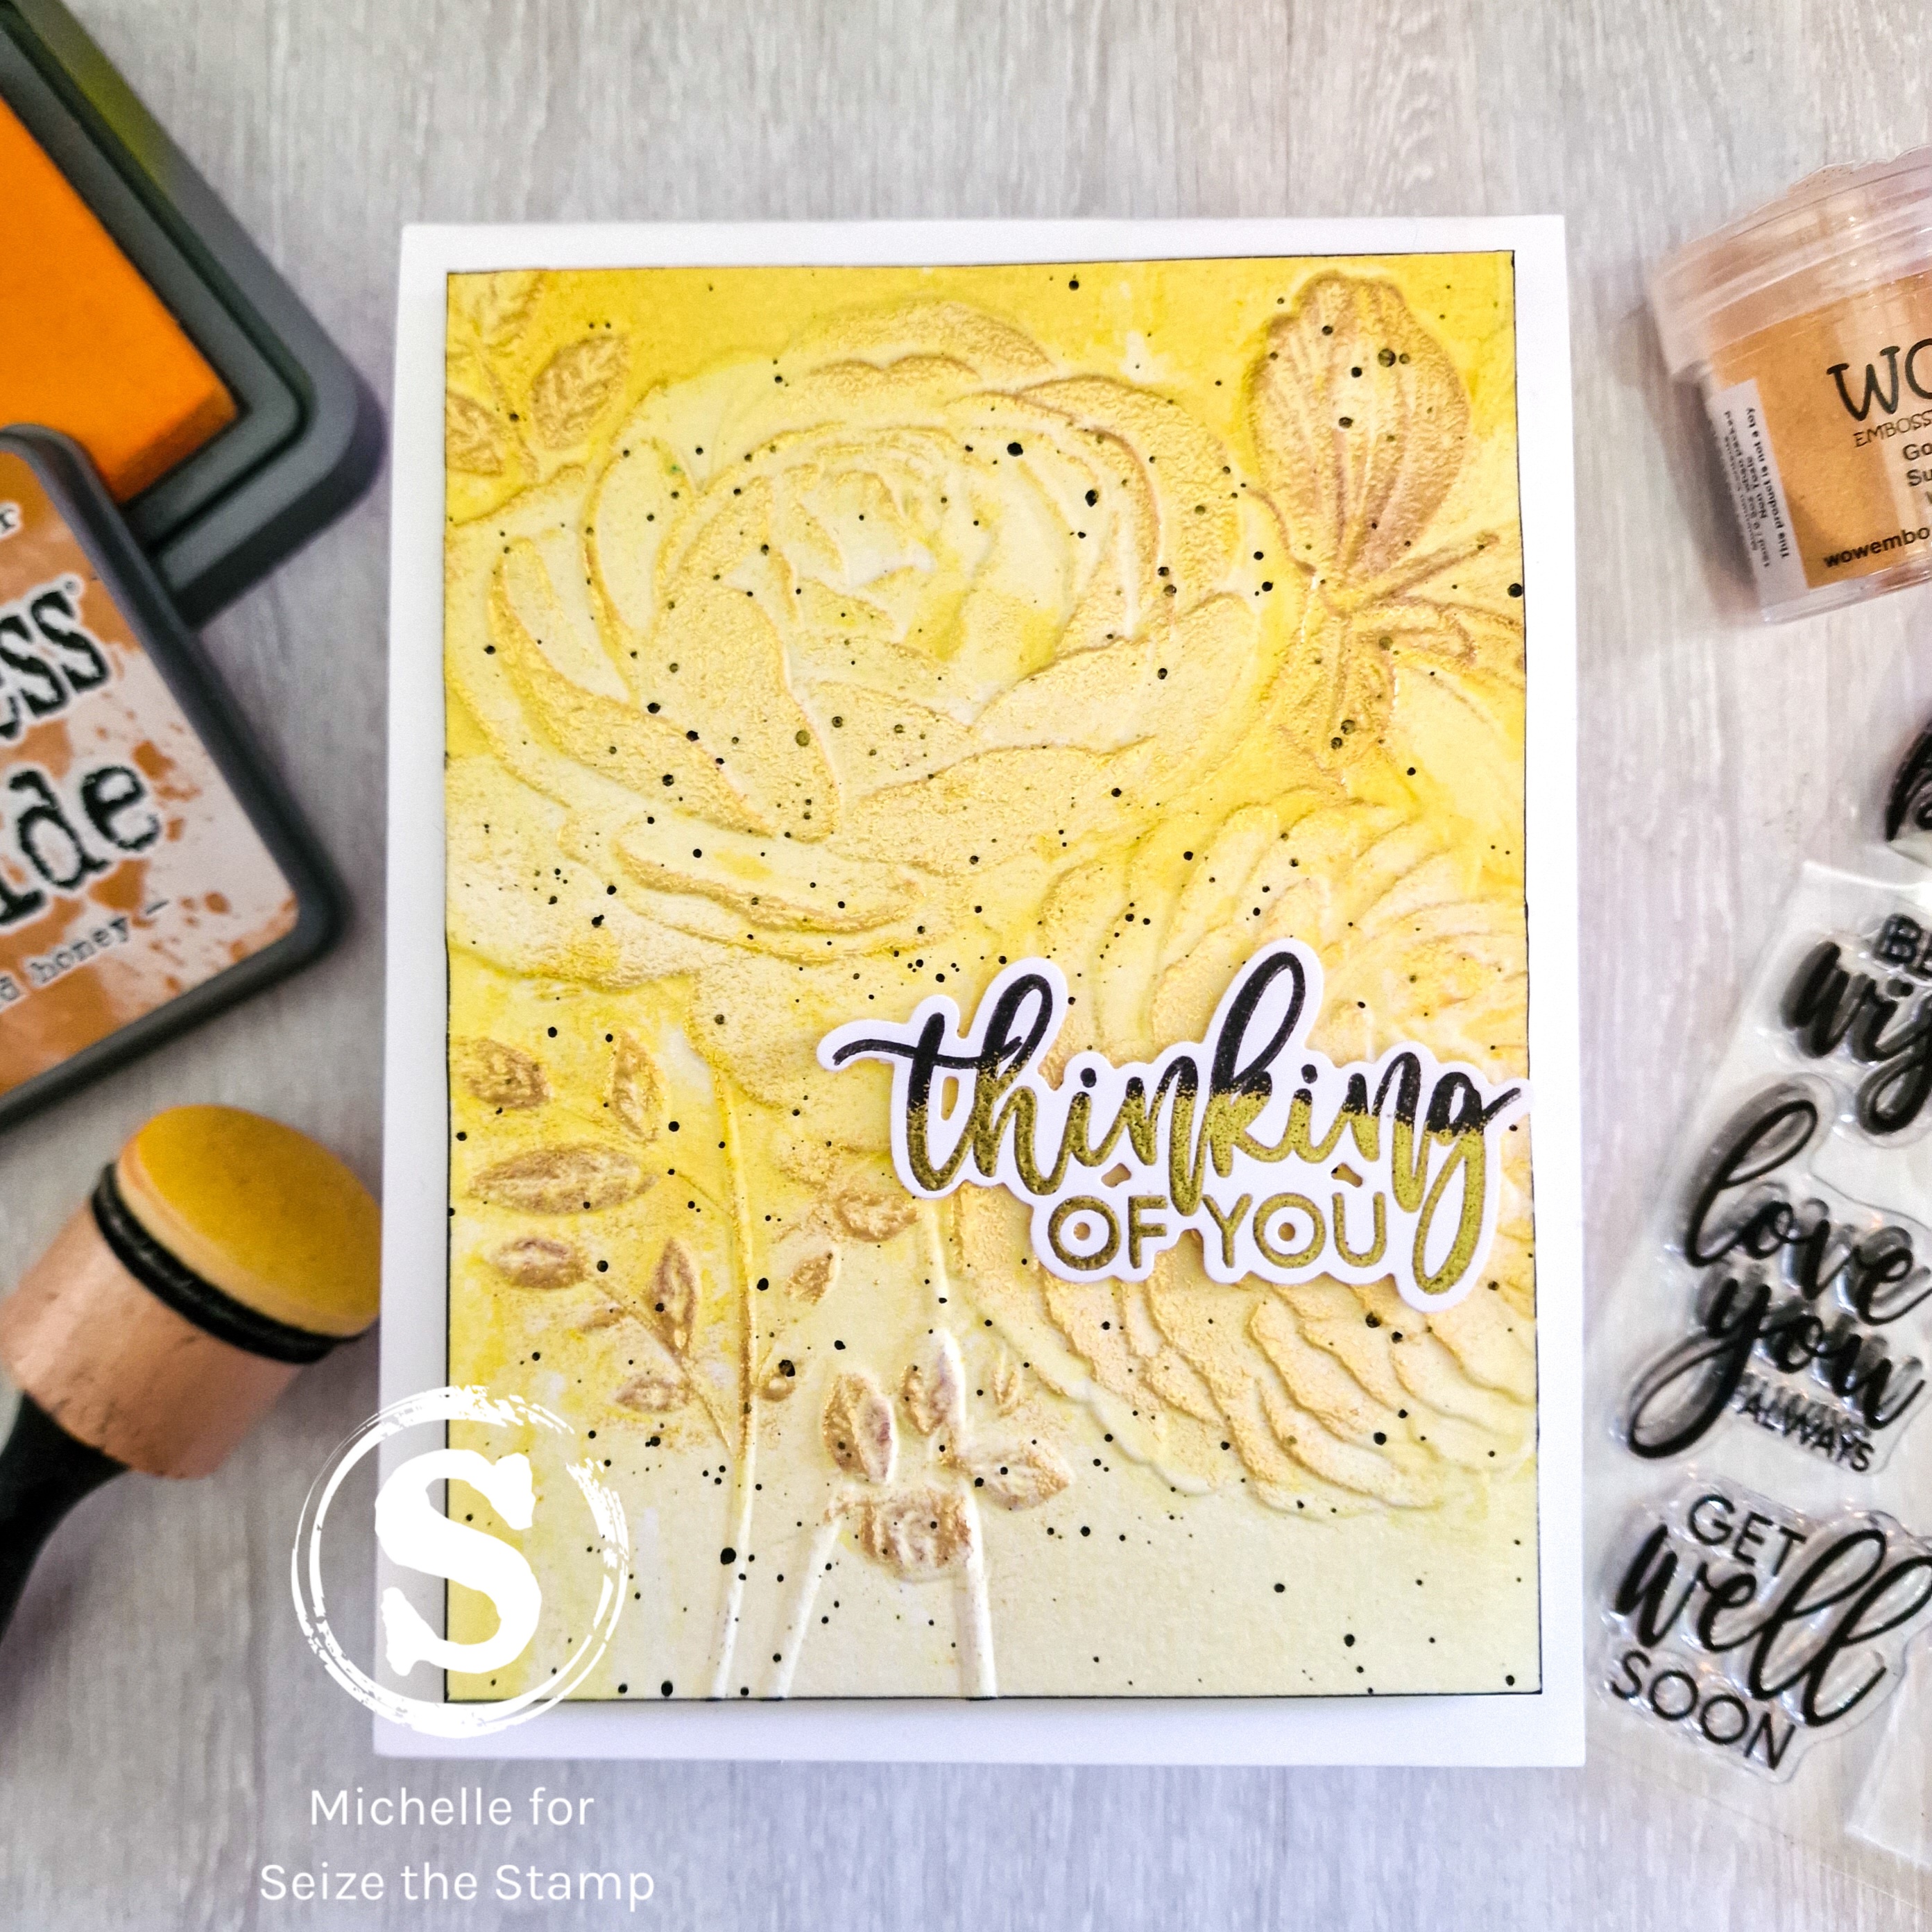
Thinking of You - Seize the Stamp


Have you seen all of the new and awesome products in the Seize the Stamp shop?  Soooo many amazing products and among them are some of the gorgeous Altenew 3D Embossing folders!  I love these folders, as they add so much dimension to your project and it is fairly quick and easy to make a beautiful card.  You don't need much to make both yourself and your recipient go WOW!

09 February 2022

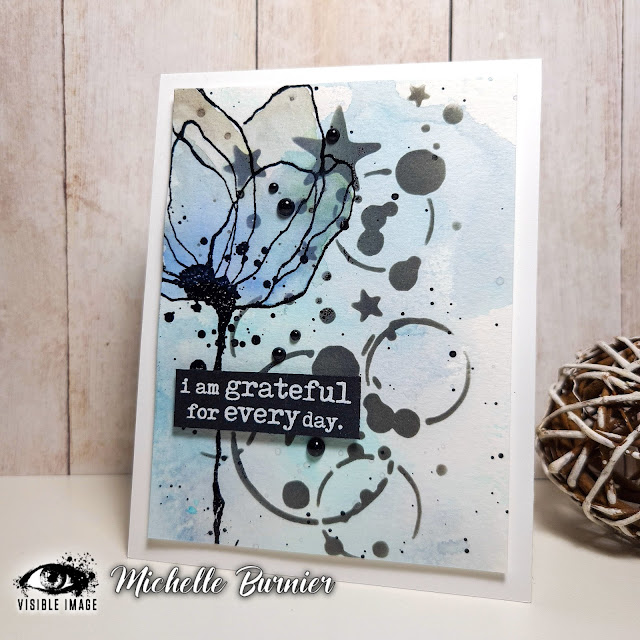
I am grateful for everyday - Visible Image


Hello crafty friends!  Today I am back to share a card using one of the latest new releases from Visible Image. I used one of the fun new stencils called Seeing Stars Stencil.  This is a double sided stencil, meaning that it has 2 different designs on it.  The other design that this stencil has is a small check pattern.  It is really fun to use and really versatile too! 
26 October 2021

Sending Warm Wishes Your Way - Maker Forte


 Hello crafty friends! I'm back today sharing a not so typical Christmas/Holiday card. This card came about by accident and honestly…..I love it! Keep reading to learn all about my happy little accident.
08 September 2021

Autumn You Know - Maker Forte and Pigment Powders


Hey crafty friends!  I'm back sharing a very colourful Autumn card.  I was inspired by the beautiful colours of the changing leaves back home in Canada in the Fall.  They truly are a gorgeous thing to see if you haven't ever....that's one of the things I miss about back home, so I thought that I would try to recreate them or try my very best to.  When I saw the new Falling for You stamp set designed by Jess Francisco, which is part of the Falling Into Fall New Release over at Maker Fort, I knew it would be perfect!
14 August 2021

Beautiful Details - AECP

Hi friends...welcome back!  Where has the time gone since my last AECP project and class???  Time to get back at it!  This class was taught by the extremely talented Marika Rahtu and as you can tell from the title is is all about the beautiful details that will elevate your cardmaking!  As they say...it's all in the details and in this case it is all in the beautiful details.  

12 August 2021

Love You - Maker Forte


Hey crafty friends!  I've got a card filled with happy rainbow colours today and lots of sparkle...black sparkle!  For my card I used one of the new release stamp sets as well as a fun stencil from Maker Forte and both designed by Alex Syberia.  It is a bit different than her usual gorgeous flowers, but it is filled with lots of fabulous big and bold sentiments.

16 March 2021

On Angel's Wings - The Hedgehog Hollow


 Hello crafty friends! I'm popping in today with my first design team project and post for The Hedgehog Hollow!  Every month you get a box packed full of crafty goodies and they are a different theme very month...it is pretty fabulous!  I am so very excited and honoured to be working with them and part of a very talented team! This month the box is pretty magical....it's all about the fairies!

Custom Post Signature

Custom Post  Signature