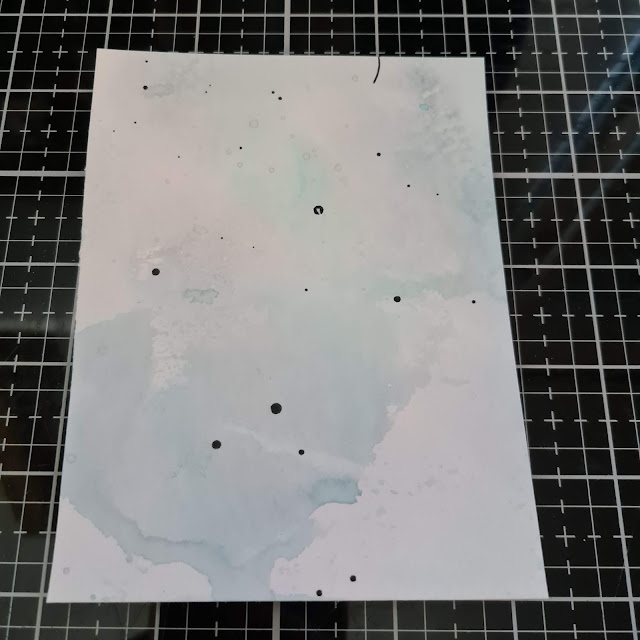
To start I went through my stash of backgrounds that I make and then decide that I don't like them or just that it wasn't what I had envisioned at the time for the project I was working on. I have quite a few and I try to never let them go to waste. I knew that I wanted a softer look for this project, so this light smokey blue ink smooshed piece was perfect. And it already had some ink splatters...perfect! So this was my starting off point.
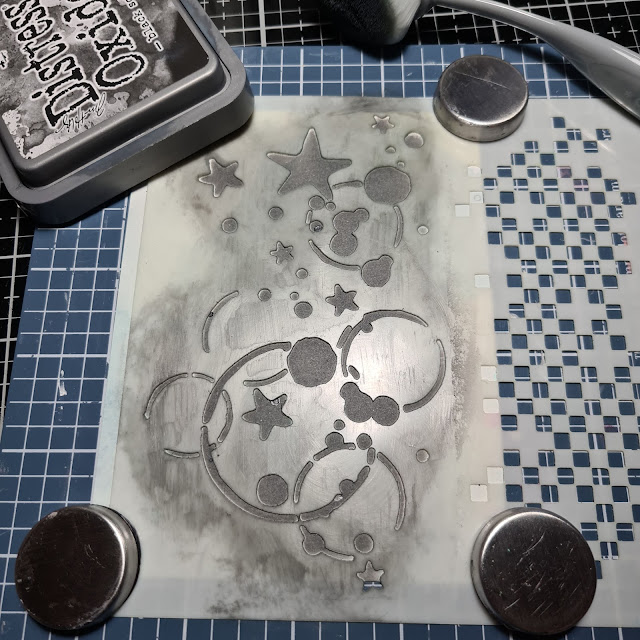
I grabbed my stencil and started to ink blend some Black Soot Distress Oxide Ink, being very careful not to get it on the other pattern nor off the edge of it, as I forgot to tape those areas off....oops. Once that was done I trimmed it down to 3.75"x5"and added more black splatters using some slightly watered down black gouache. I kind of did this backgrounds, as I would normally have that as one of my last steps.
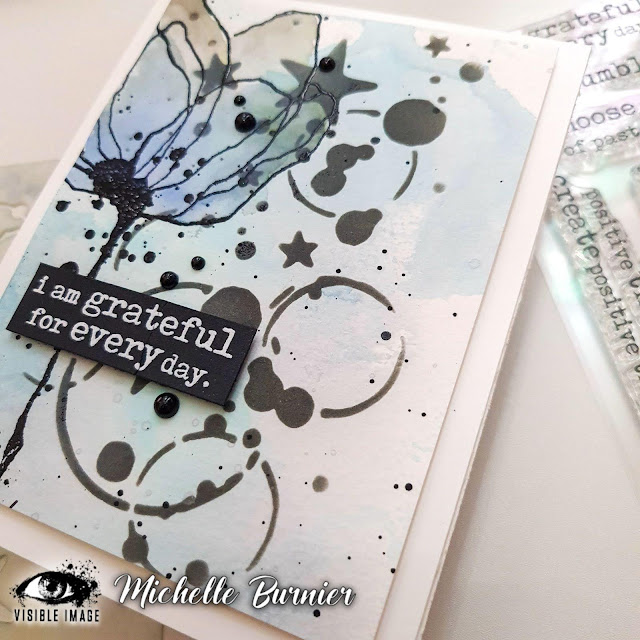
I heat embossed in black the large flower from the Total Chaos Stamp Set. I absolutely love this large sketchy floral...don't you! It kind of reminds me of a tulip, my favourite flower. In hindsight I should have heat embossed it a second time, but I had already removed it from my stamping platform and I didn't want to risk not getting it back exactly in the same spot and having it double stamp, so once it was lol.
I then added just a very small amount of colour using some Distress Oxides in Weathered Wood and Prize Ribbon, just for a little bit of interest. I like how when I added the water it reactivated the Black Soot that was used for the stencilling, that was "under" the flower. It softened those just a tiny bit.
Finally I heat embossed in white my sentiment from the Affirmations Stamp Set. This is one of my favourite stamp sets right now. It has so many fantastic sentiments, that you don't normally find. And I love the typewriter font too! This has definitely become a staple right now in my cardmaking. And then just a few black flatback pearls finished it off perfectly.
I popped up my sentiment using some foam squares and added it all to my A2 cardbase using some craft foam. I really love how this turned out and how you can still see the stencil through the flower. That's why I only wanted to have a light wash of colour, so it remained somewhat transparent.
I hope that this has inspired you in some way. Dig through those unused backgrounds that maybe weren't so perfect at the time, but are perhaps exactly perfect for your project this time.
Thank you so very much for stopping by today. I wish you all the most wonderful and crafty day. Until next time,
Supplies Used:


.png)

Be First to Post Comment !
Post a Comment