
Hello friends! I'm back today with another fabulous post for Visible Image. I decided to pair up the super duper cute Molly with a kind of a rainbow of colour...I think they pair perfectly together! I love that no matter what stamp set, image or stencil from Visible Image, they all pair together perfectly. You can never go wrong, no matter what product you use form them. Let's get crafty, shall we?!

To start I taped down the Strobes Stencil to a piece of Bristol Smooth cardstock. I find for ink blending that this type of paper, a multi media or watercolour works best. The colours just go on so smoothly. Next I started to ink blend using 4 different colours. I was going for a rainbow kind of look to it, but I didn't use the full range of colours that are in a rainbow.

Once I was done with the ink blending (which btw I redid it from what you see above, as I wanted the colours in a slightly different order and brighter as well) I added some black splatters using a gouache paint, but kept the stencil in place as I wanted to keep the white areas under the stencil untouched.

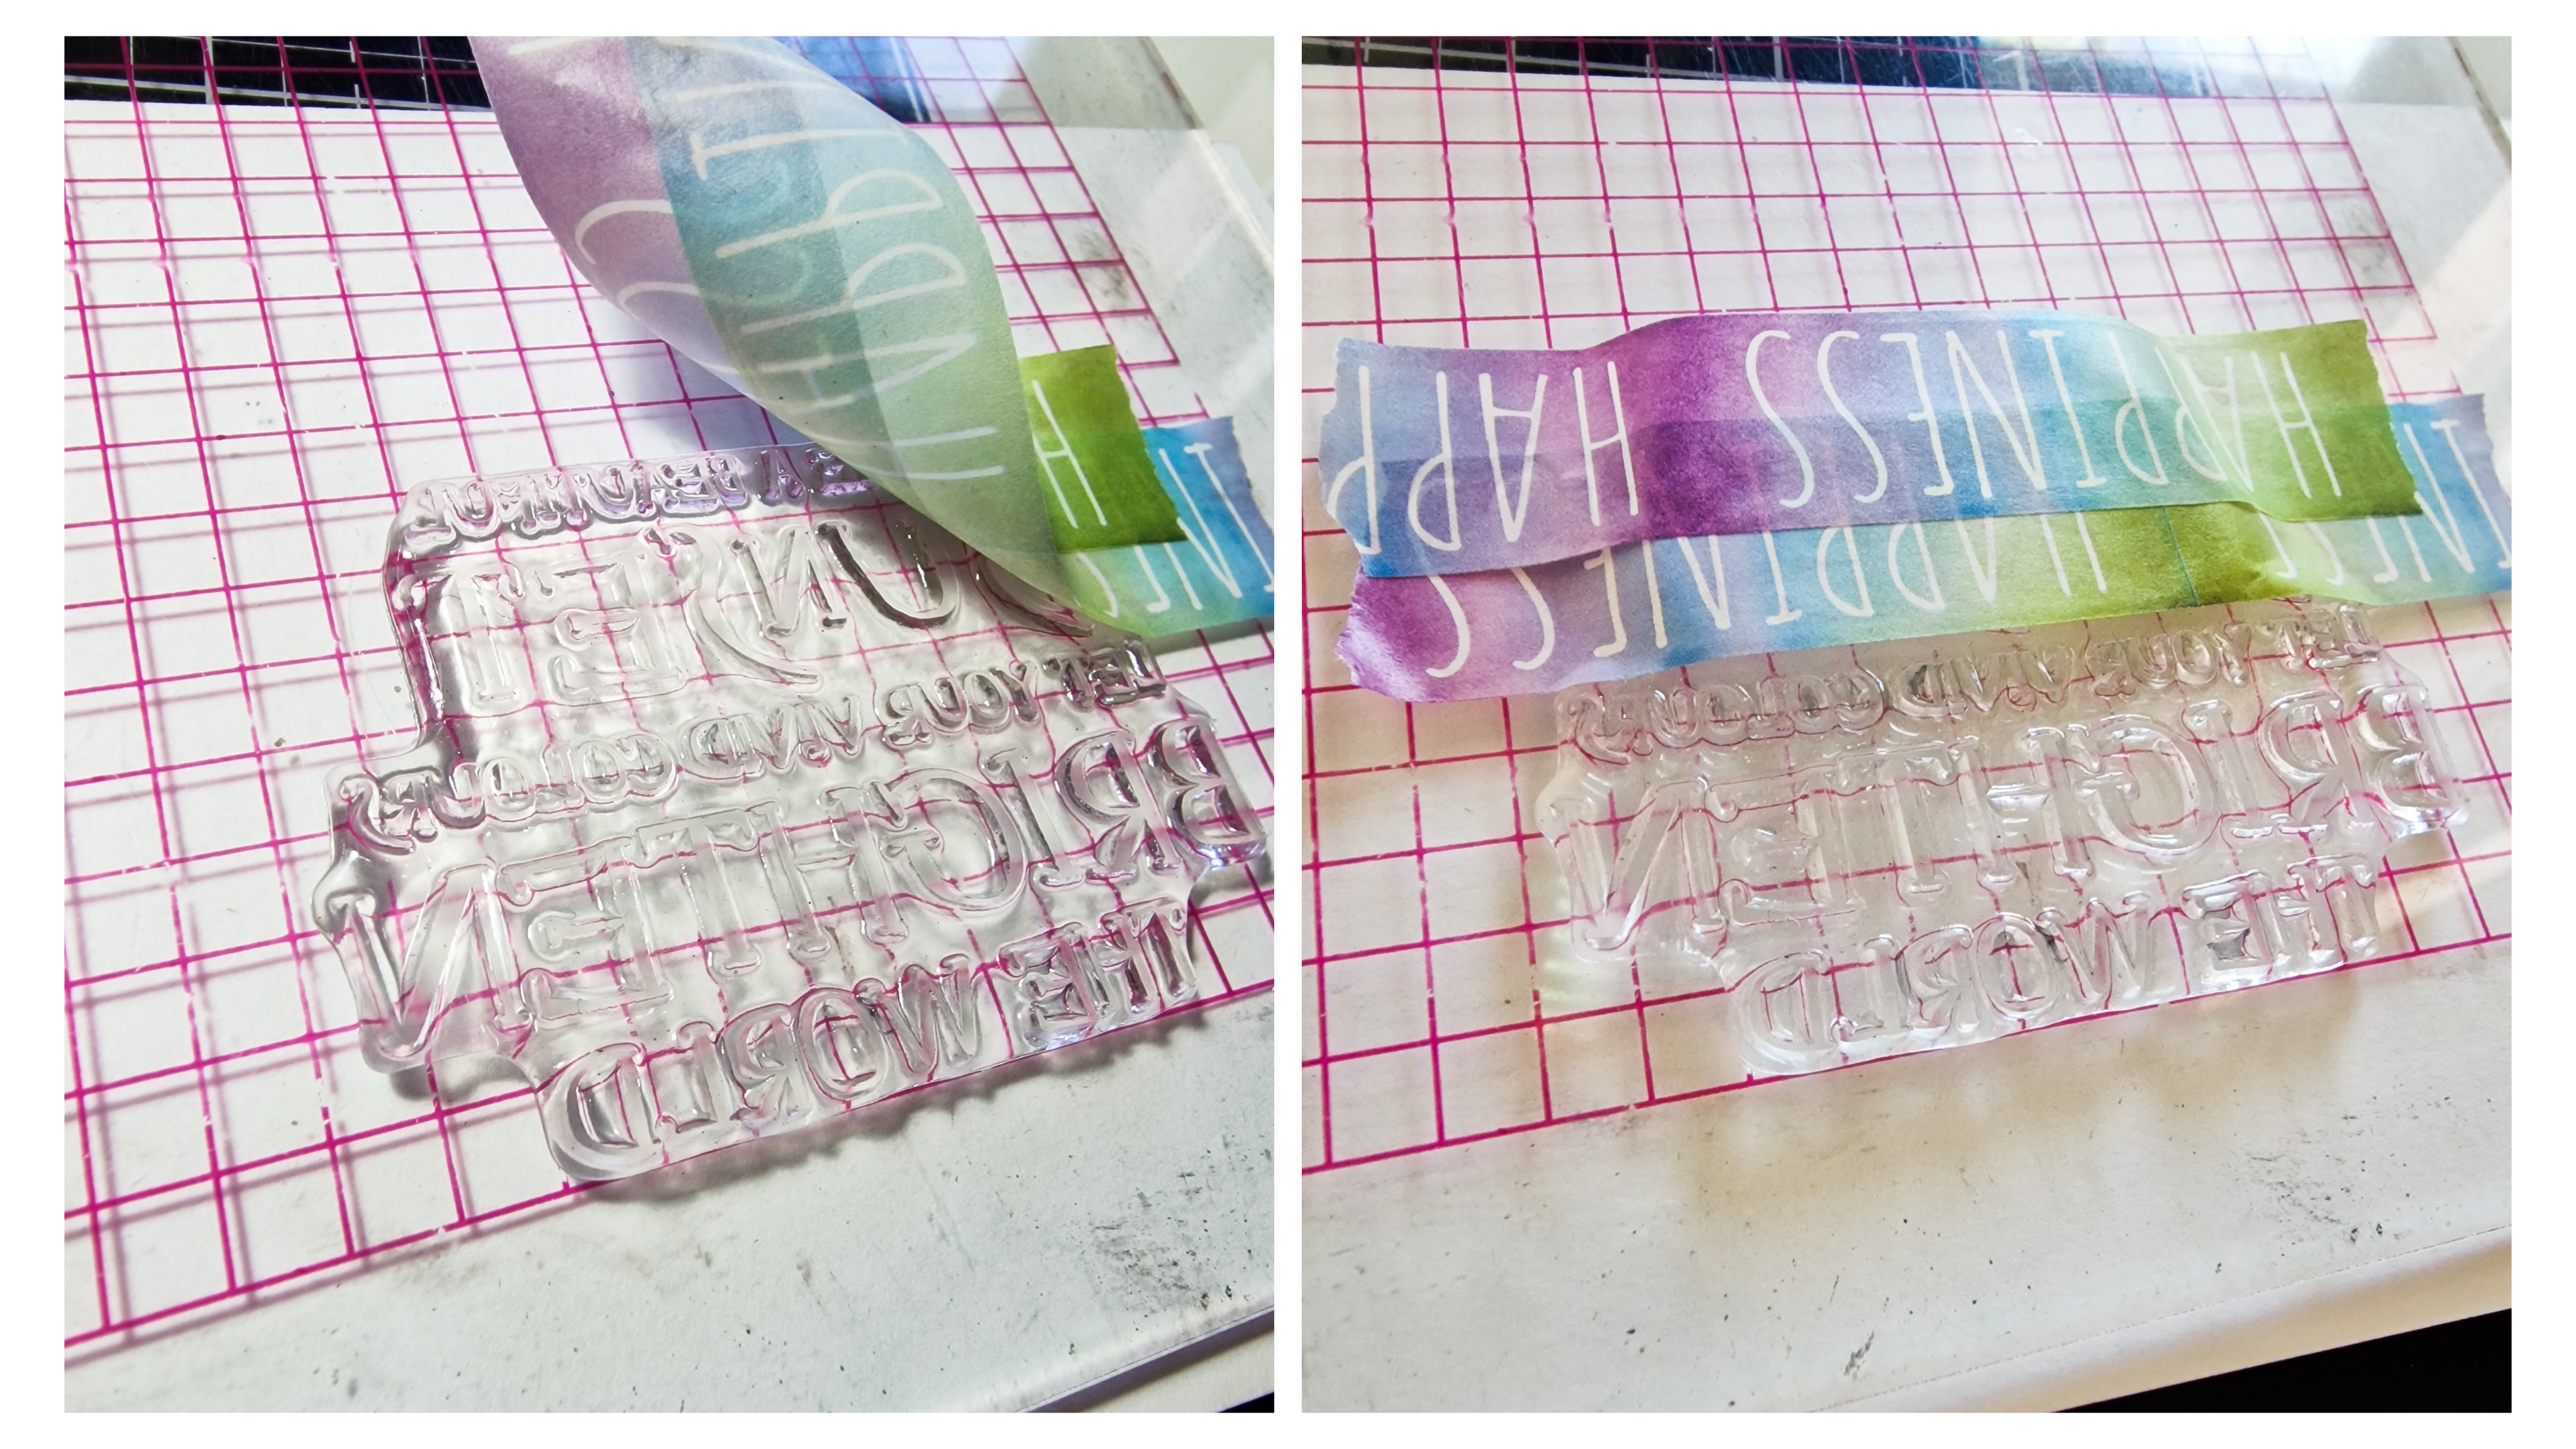
For the sentiment I turned to the Brighten the World stamp set. I taped off part of the sentiment, as I only wanted to ink up the bottom half of it. In the past I would normally have used post it's to mask off the part of the stamp I didn't want to use, but I found that washi tape works perfectly as it sticks down and there is no chance of it moving when applying the ink to it.

When you are about to take the stamp to your paper, be sure to remove whatever you may have used to mask off the uninked portion of it or you will get the ink that is on the washi or post its on your paper and we definitely do not want that.

All that is left is to add Molly to the stencilled piece using some foam squares to give her a little bit of a pop. Add a bit of craft foam as well behind the stencilled piece and adhere that to an A2 cardbase for some more dimension...because you always need that dimension (or at least I always do lol). The finishing touch is to add a few clear droplets around Molly and it is done.
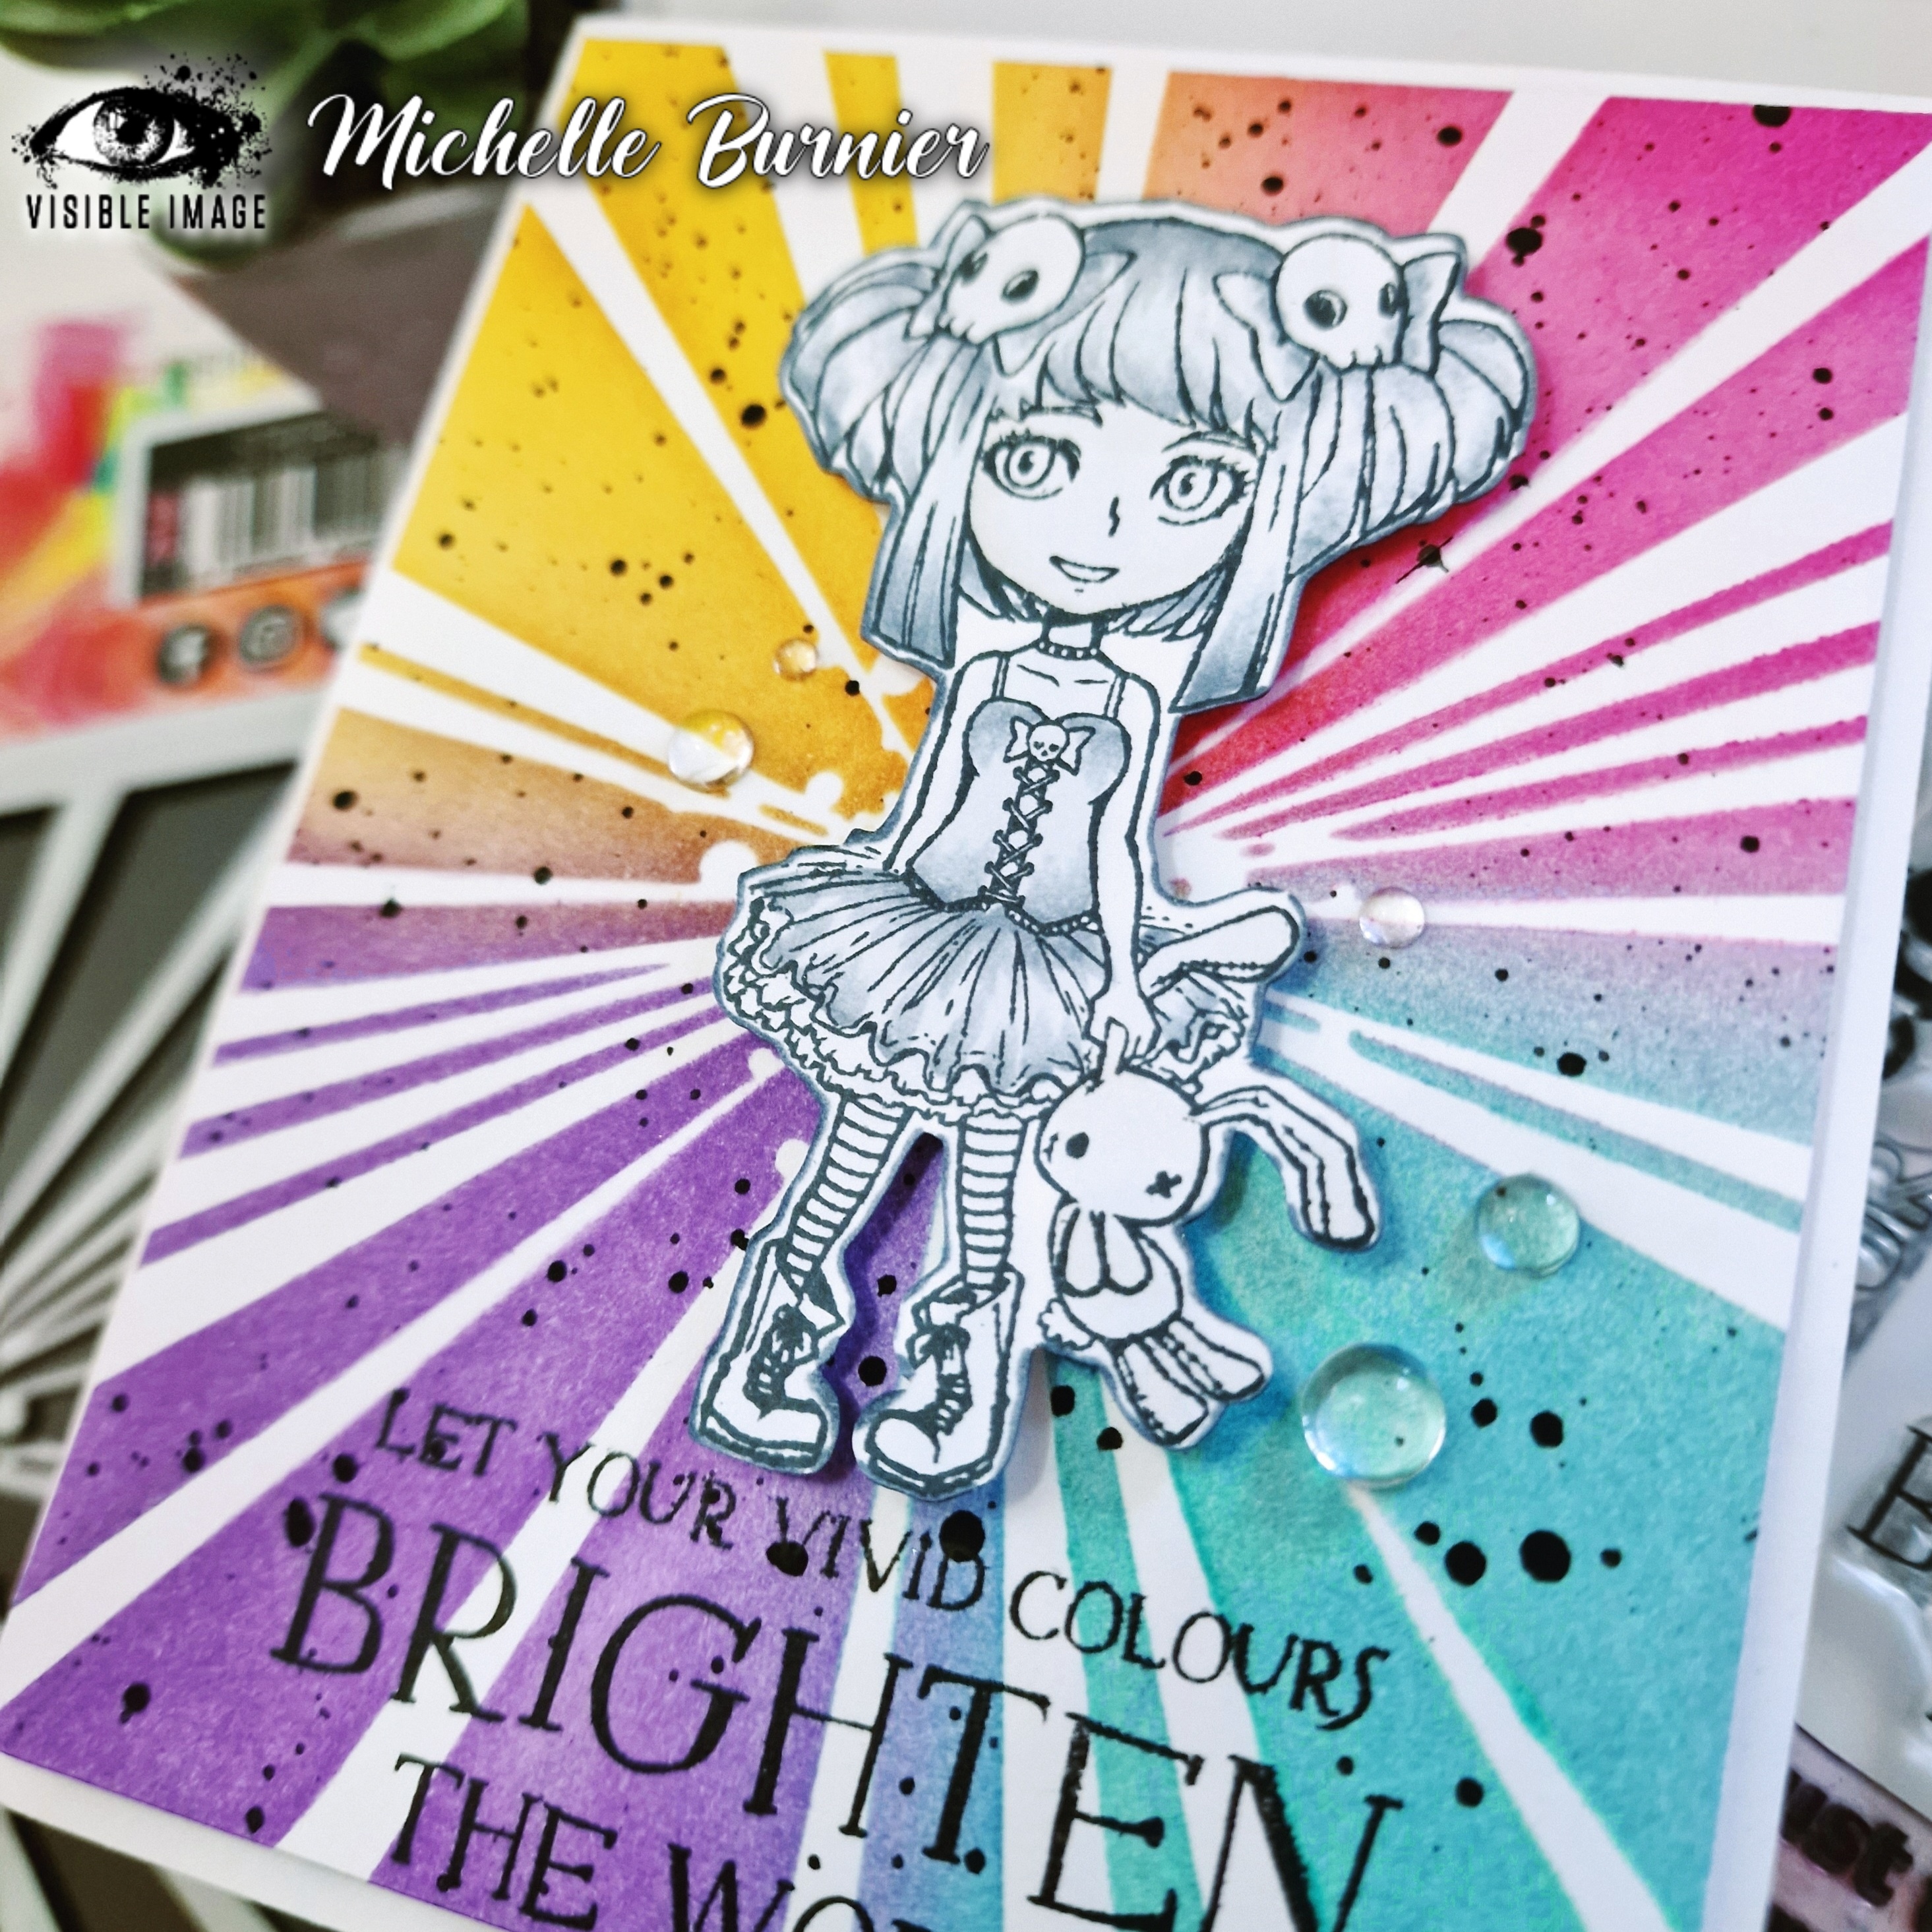
This turned out exactly how I had imagined it! Quick and easy, especially when you have fabulous products to work with. I love how the stencilling behind her makes it seem as if it the colour is radiating out from her. Her bright colours will most definitely brighten up the world and we most definitely need that!
Thank you very much for stopping by today. I hope that this has inspired you and that you find some time in this hectic world to sit down and create...even if only for 15 minutes.
Thank you again and I wish you all the most wonderful and crafty day! Until next time,

Supplies Used:


.png)

I have no imagination so I love the blog to find ideas. Thanks.
ReplyDelete