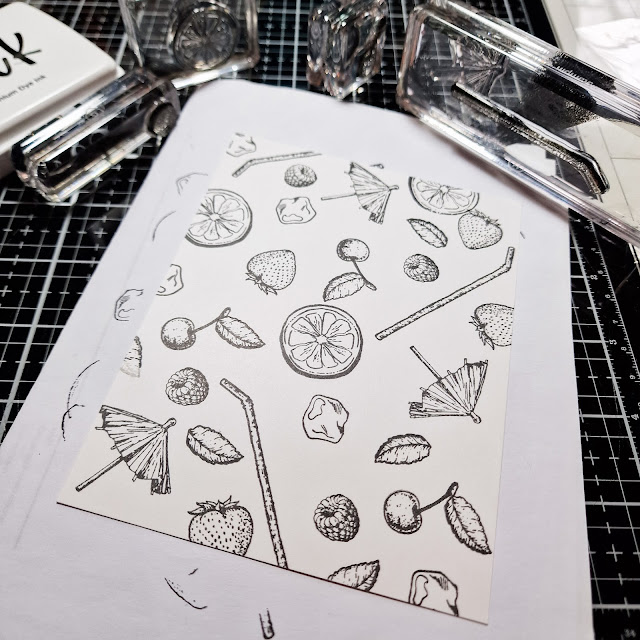
Hello friends...I`m excited to be back sharing another project sharing one of the newer stamp sets Cocktails and Dreams from Visible Image. You can click here to take you to their website. This is such a great stamp set, that is filled with all you need to make a fabulous cocktail or 2! And it fits in perfectly with the rest of their adult beverage stamp sets.
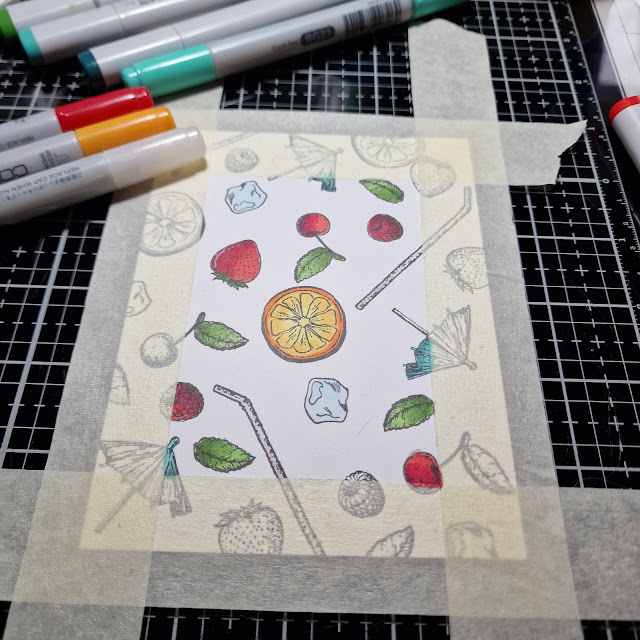
Without removing the tape and once I had all of my images coloured I did some simple ink blending using Pumice Stone Distress Oxide ink. I removed the tape gently ever so gently. I love the soft kind of retro look the ink blending gives to the coloured images.
Next I took my t-ruler and added a black border along the ink blending. This helps it pop up a bit and gives it kind of a 3D dimension to it. I stamped out the hurricane glass and drink umbrella images and gave it some colour using alcohol markers and cut it out using the coordinating dies. To finish that I add some glossy accents to give the glass and beverage a shine.
I hope you have enjoyed my post for today. I had lots of fun playing around with these smaller images. Don`t be afraid to use those smaller images in stamp sets.....they definitely need love too! I hope that I have helped to inspire you today to find a few minutes to sit down and make something amazing! Thank you so very much for stopping by today and I wish you all the most wonderful and creative day. Until next time,


.png)

Be First to Post Comment !
Post a Comment