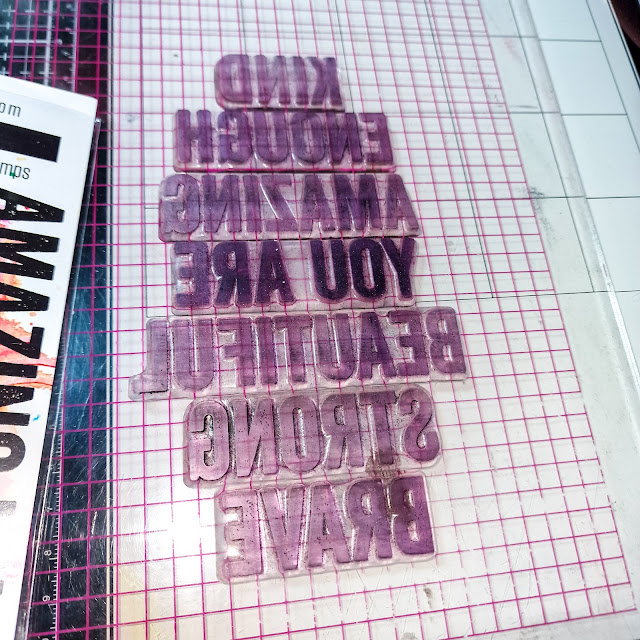
Hi friends and welcome back! Today I have a new project to share using an amazing stamp set from Visible Image called Bold Enough. As the name suggests, this set is filled with nothing but positivity in a big and bold font....these sentiments needed to be front and center! So for this card I did a technique called the Josephs Coat Technique. As soon as this stamp set was released, I knew exactly what I wanted to do with it and that was to make a card just filled with these affirmations and nothing else. I have seen technique many times and always wanted to try it, so I thought this stamp set was perfect for this.
I started to blend my inks all over my paper. For this technique the blending does not need to be perfect, as most of it will be covered up. I tried to make sure that none of my inks blended into a muddy colour and tried to make them nice and vibrant. Looking back after my piece was finished, I should have definitely made them much more vibrant.
Next I set my ink blended piece aside to dry and I mean really dry. As I will be doing heat embossing it needs to be fully and completely dry, as any stray piece of embossing powder will affect the finished look of it, and you don`t want that. So in the meantime, I arranged my words on my stamp positioner and tried to get them placed as straight and even as I could. You don`t need a stamp positioner for this technique and you could most definitely do 1 word at a time, but this way just allowed me to do them all at once.
Once my piece was fully dry, I cut the panel down to 4.25"x5.5" using a die cut rectangle. By using a rectangle to die cut, it will help to make sure I get the words as centered as possible, rather than cutting it with the naked eye using a paper trimmer. I then heat embossed the words using clear embossing powder. I wish that I had gone back and heat embossed them a second time, as you can see the words have a bit of texture to them, which I feel allowed some of the ink to affect the letters a bit. Doing it a second time would have allowed a really smooth embossed look to them and cut back on the textured look of the heat embossing.
Next comes the scary part of this technique...cover up all of that beautiful colour using black ink! I first started with Black Soot Distress Oxide Ink, but because this isn`t a true black but rather I feel a dark grey, I switched to a true black ink. I just kept adding more ink until I felt it was fully covered and that none of the colours underneath it were peeking through the black.
As you can see because of the texture from the heat embossing, some of the black ink did sink into those letters a bit. Doing the embossing a 2nd time would have ensured a nice smooth surface and avoided that.
Once I was done with the black ink, I went over the words with a cloth to remove any ink sitting on the surface of the heat embossing and to bring out the ink blending below it. I then cut the panel down a bit more to 3.75x5", as I always like to have a border on my cards. I popped it up on a white cardbase and added a few iridescent flat back embellishments, to help to enhance the ink blending.
And that is it! This is a really fun technique to try and kind of makes others think.....how did you get the ink blended look to your stamping??? I really love how this turned out, but as I mentioned above a few things to note for next time. I really hope that you get inky and give this technique a try. There are so many different images that you could use for this technique and colour combinations too!
Thank you so very much for stopping by today and taking a few minutes out of your day to read my blog. I wish you all the most wonderful day and I hope you find a few minutes to sit down and create some magic! Until next time,


.png)

Be First to Post Comment !
Post a Comment