Hi friends...welcome back! Have you seen the new September release from Visible Image??? It is filled with 6 amazing new stamp sets and 3 stencils! Today I have used this gorgeous image from the No Filter Stamp Set as well as a new stencil and then paired them with my go to background image stamp set.
For my card today I started with a piece of hot pressed watercolour paper cut a bit larger than my desired finished size of 4"x5.25". I originally taped it down to my work surface, but I kind of veered away from my original idea sightly. I picked some colours of pigment powders and added a wee bit of each to a palette with some water. In the end I only ended up using 3 of the 6 colours.
I added 3 of the colours to the top of my paper using a flat head brush one at a time and spritzed it with water, allowing the water and colour to run down the watercolour paper. I wasn't concerned with allowing them to dry in between adding the next colour beside them, as I wanted them to run together and blend slightly. I continued to spray the top of the top of the paper adding more water as I wanted to lighten the colours a bit.
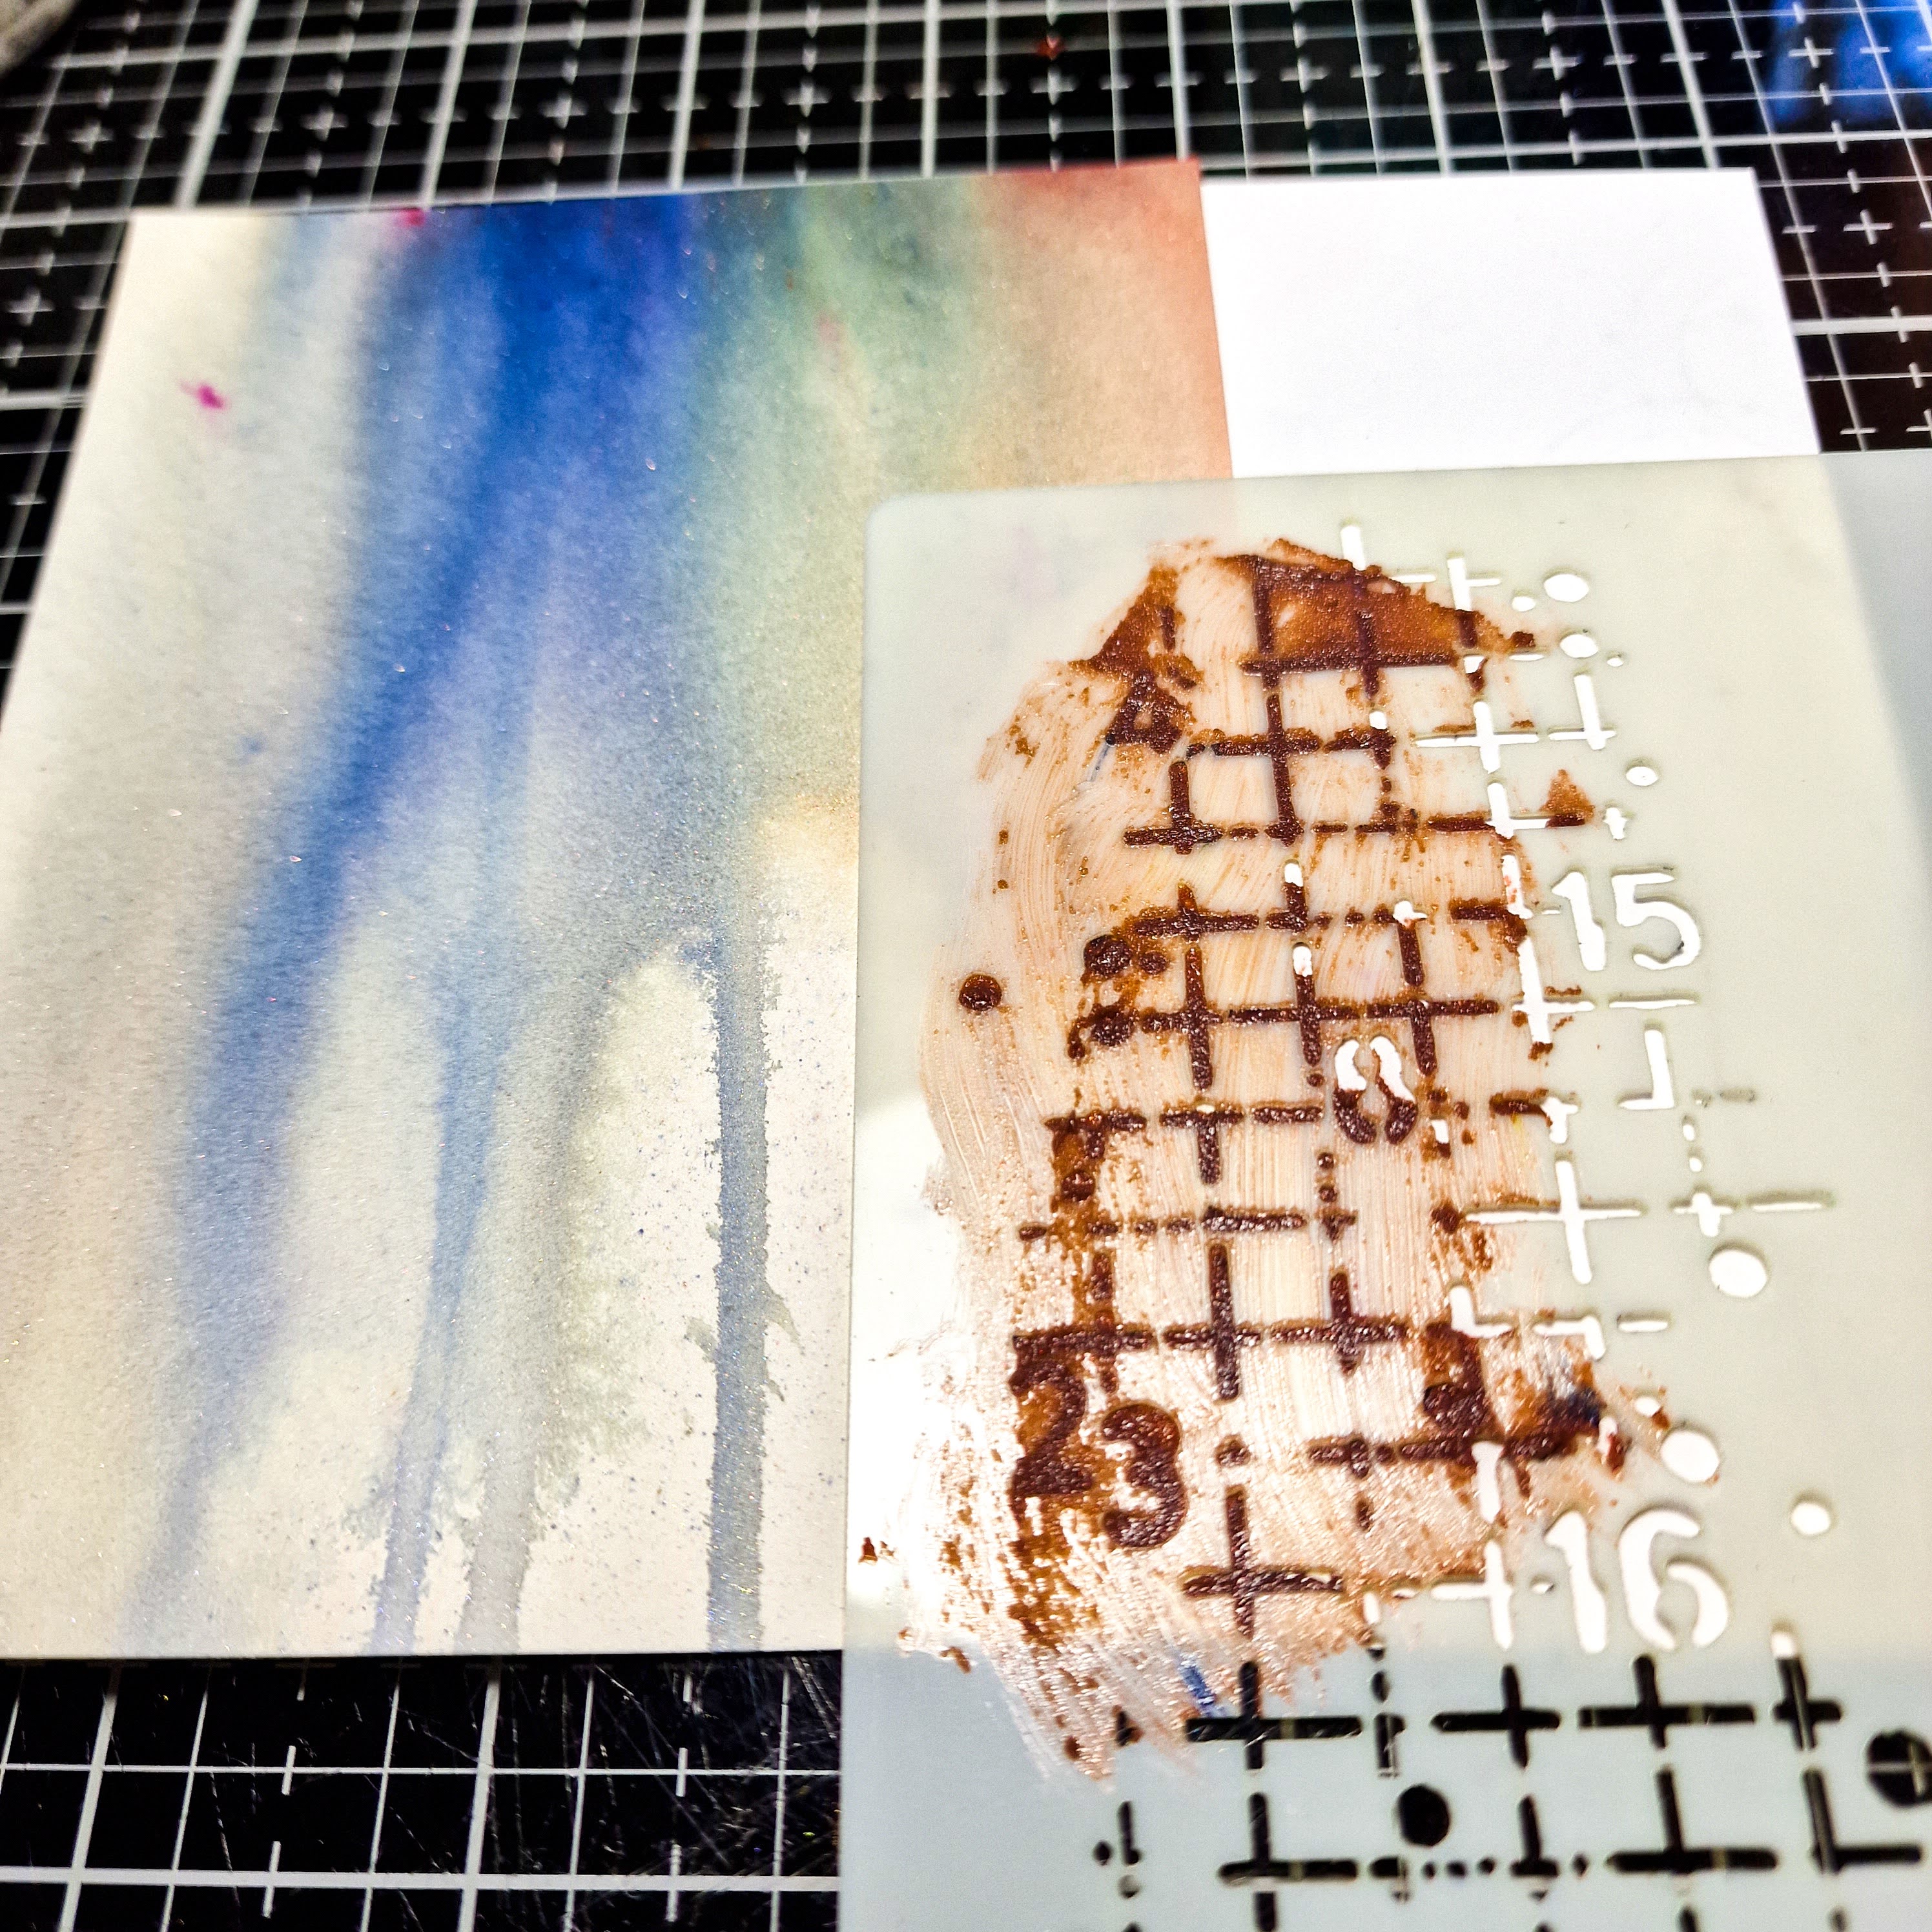
In the meantime while that was drying, I added a very small amount of one of the pigment powders used for the background to a translucent grit texture paste to create a custom colour. I took the
Off the Grid Stencil and placed it slightly off the bottom right side of the dried watercolour paper and added the texture paste and repeated the same on the upper left side of the watercolour. One of the great things about this stencil, is that it is 3 for 1. That means that you don't get just 1 image on the stencil, as is usually the case....you get 3 fabulous designs on it!
To add a little more interest to the stencilled parts I used my go to favourite stamp set for background images, Shape It Up. I added a few of the images in either corner over top of the dried texture paste and it actually stamped beautifully over it.
For the face image, I stamped it using a black pigment ink and heat embossed it using a clear powder. Although I did use a hot pressed watercolour (which is smoother than a cold pressed) I did have to stamp it a few times as it still did have a bit of texture to the paper compared to a regular white cardstock, so some of the gorgeous detail in her hair was lost a bit. Some sparkle was added to a few of the circles and then glossy accents was added on top and then set aside to dry.
To finish off this incredible image, I added a bit of white gel pen to highlight her eyes and lips a bit and a black marker around the edges of the cardstock to give it a fine black edge. The sentiment was stamped in black ink and was given the same black edging as the main piece and popped up using some foam squares. It was then all added to an A2 cardbase using a double sided adhesive.
I am really quite pleased with how this turned out. A bit different and softer than my original idea, but I love it nonetheless. And how awesome is it that she has a beauty mark on her chin.....completely unintentional, but it is perfect! I feel like she is looking deep into my soul with her eyes!
I love all of the #sentiments in this set. They are truly perfect with the image, but they also speak volumes for the world we live in today. If you haven't seen the rest of the release yet, head on over and check it out....it is a pretty awesome one, as always! Helen and Mark at Visible Image never disappoint!
Thank you so very much for stopping by and I wish you all a wonderful and creative day! Until next time,
Supplies Used:


.png)

Be First to Post Comment !
Post a Comment