Hello friends and welcome back! Today I am sharing a fun and colourful card using some fabulous products from Visible Image. For my card I used the Daisy Daisy Stencil and paired it with lots of colour!
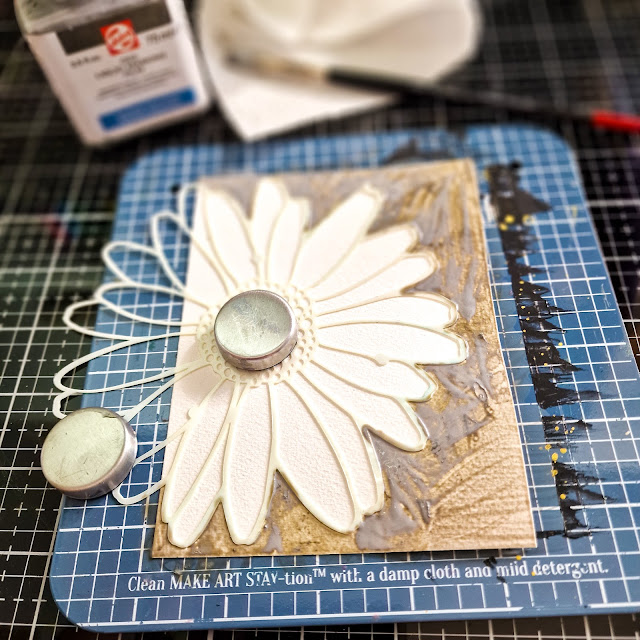
To begin I sprayed the back of the stencil using a temporary spray adhesive, to ensure that it was stuck down well to my watercolour cardstock. Next I added some liquid masking fluid around the entire outside of the stencil, being very careful right at the edges of the stencil, to make sure that it didn't get inside. I did initially add the masking fluid over the entire cardstock that didn't have the stencil as I was going to do something different, but changed my mind last minute lol.
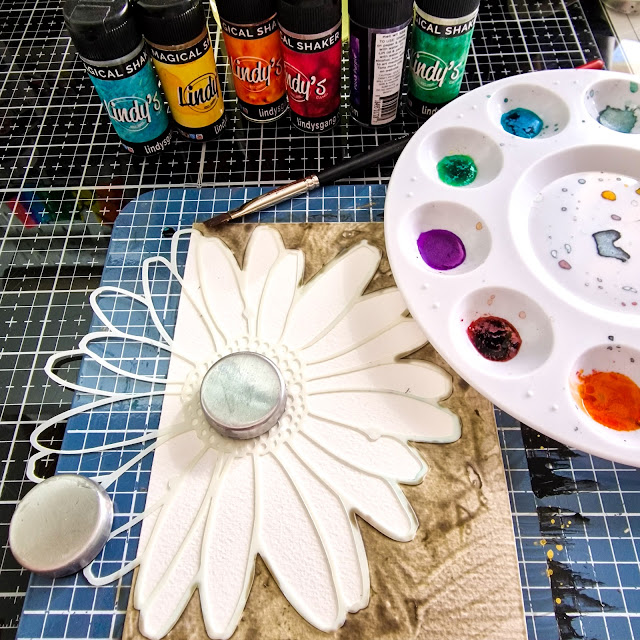
Next I picked 6 colours of pigment powders that I thought would be good for a rainbow effect and added a tiny bit of each to a paint palette and added some water to each and mixed well.
I then went petal by petal and added colour to each. I was very careful not to get colour in any of the petals that were beside eachother. When watercolouring you normally don't paint any 2 images side by side, so as not to have the colours bleed. However as I had the stencil separating each petal, I didn't have to worry about that too much, I just made sure not to add too much water with each application and I dabbed away using a paper towel if I felt I had a little too much water. For the flower center I just stippled on some of each colour with my paint brush, rather than brushing it on. That way I could ensure that there would be none to minimal bleeding of the colour under the stencil.
Once it was dry I added some black paint splatters and went in with the small cluster of circles stamp from the Shape It Up Stamp Set and added some small circles to the image while the masking fluid and stencil were both still in place. I used an acrylic block for the stamping as it was easier and added a little more pressure than I'd normally, to be sure to get right up the edges of the stencil.
.jpg)


.jpg)


.png)

Thank you Michelle, that is beautiful and I appreciate your detailed information 😊😊
ReplyDeleteI really love using these powders with stencils, so quick and yet so effective they are! Thanks for stopping by:)
Delete