
Hi friends! Today I am sharing a card for Visible Image. I decided to use the gorgeous Dragonfly Relection Stamp Set for the main focus of my card. This stamp set features a large dragonfly image as well as a few other images that go so well with it.
To begin I first stamped and heat embossed the separate wing images onto clear acetate, so I could later then pop them up and have the dragonfly kind of flying off the paper. I absolutely love all of the fine details in these wings!
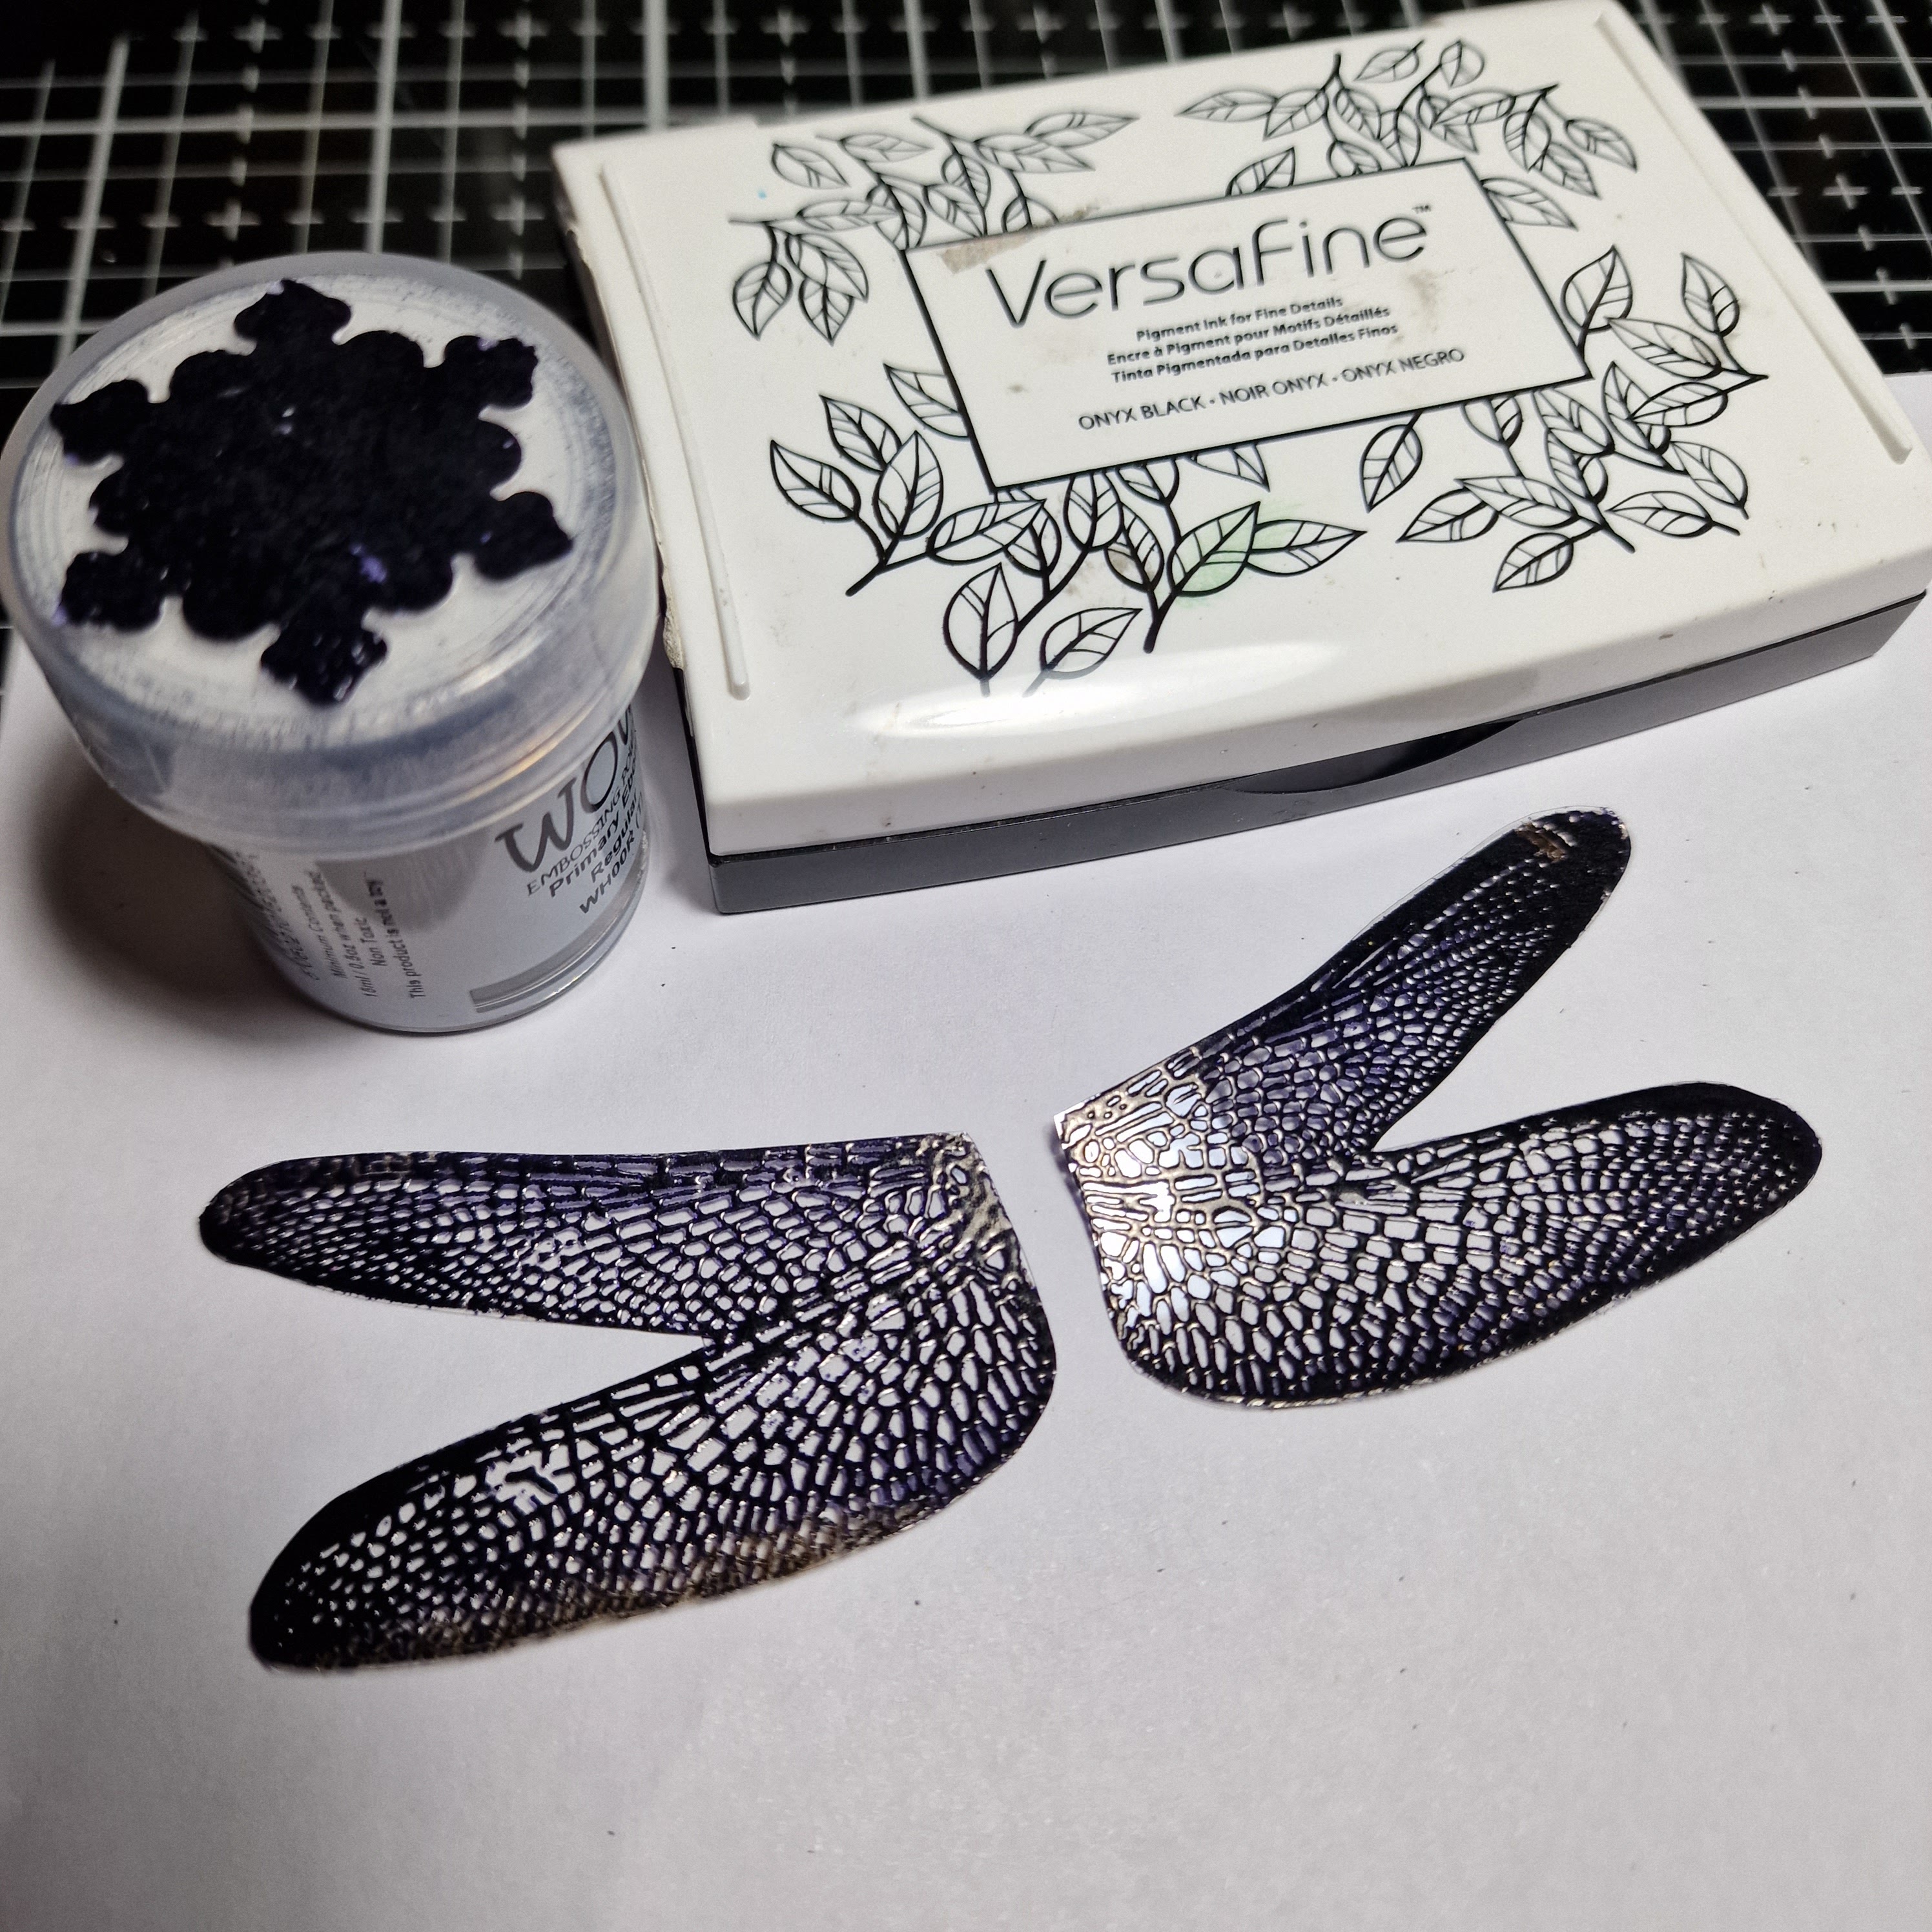
To add some colour to the wings I went in with 3 different colours of alcohol inks and added them to the back side of the wings that doesn't have the embossing. For this I used a blue, purpley-pink and a yellow or respectively Ocean, Berry Juice and Caramel. I set them aside to dry fully.

For the next step I used the Mesh It Up Stencil and went in lightly with Weathered Wood and Pumice Stone Distress oxide Inks and did a bit of ink blending concentrating on the middle of the stencil on a piece of mixed media paper cut to 4"x5.25".

I then added a few more background images using a circle from the same stamp set, as well as the lines from the Shape It Up Stamp Set...I can see this set becoming a regular for me! I also a few more small circle images from the dragonfly set as an after thought as well. To add colour to my background I added 2 different pigment powders. The blue acts as kind of a pool of water down below the dragonfly to kind of go along with the reflection sentiment and well the brown is because I love that colour lol. Once the powders were fully dry I added some black flecks using a gouache.

Once that was all dry I added the Reflection sentiment. I then trimmed down the paper even more to 3.75"x5" and then took a bit of inspiration from one of my fellow design team members and traced along the edges of the cardstock with a black sharpie to add a bit of inspiration. I love how that looks! It adds a little frame to it without being too much.

To assemble my card I added it to an A2 (4.25'x5.5") top folding ivory cardbase using some craft foam and then added my wings. I used a small little bit of glue just on the edges of the wings where they would attach to the body and after that was left to dry for a few minutes, I used a small piece of clear 3D double sided tape and added that just next to the glue to add a little bit of dimension so the wings would pop up nicely, to again give it that illusion of flying.

So I realized in the that there is a small little area of the embossing on the right wing that somehow got rubbed off. Let's just say that she (and yes I've determined that she is a she lol) got into a fight with another dragonfly lol. I absolutely love this dragonfly! All of the detail, especially in the wings is amazing! And I especially love how all of the stamp sets work so perfectly with one another. They are so fun to work with.

Thank you so very much for stopping by today! I hope that you find a little bit of inspiration from this and you manage to find a little bit of time to sit down and create today.....even if it only for 15 mins. Thank you so much and I wish you all the most wonderful and creative day! Until next time,

Supplies Used:
- Visible Image Dragonfly Reflections Stamp Set
- Visible Image Shape It Up Stamp Set
- Visible Image Mesh It Up Stencil
- Lindy's Gang Magicals - Tibetan Poppy Teal and Cattail Copper Brown
- Octopus Fluids Alcohol Inks - Ocean, Berry Juice and Caramel
- clear acetate and mixed media paper
- Versafine Onyx Black Pigment Ink
- WOW! Embossing Primary Ebony Embossing Powder and heat embossing tool
- Ranger Distress Oxide Inks - Weathered Wood and Pumice Stone
- Winsor & Newton Designers Gouache - Ivory Black
- ink blending brush
- fine point and a small paintbrush
- stamp positioner tool and small acrylic blocks
- black Sharpie marker
- A2 cream colour card base


.png)
Be First to Post Comment !
Post a Comment