Welcome back crafty friends! Today I have my project for the Demystifying Mixed Media class to share. I find the whole world of mixed media is so mysterious and intriguing! It makes you want to just dive right in...or at least for me it does. So many amazing techniques and details you can use in and add to your work. I really admire all of the incredible mixed media artists out there!
This class was taught was the incredibly talented mixed media artist Tania Ahmed...her work is truly amazing and we are very lucky to have had her teach this class. She went over several fun and very cool techniques, however there was one in particular that caught my attention....it was where she used an old book page to add another element to her card. So off to the bookshelves I went to find a suitable book.
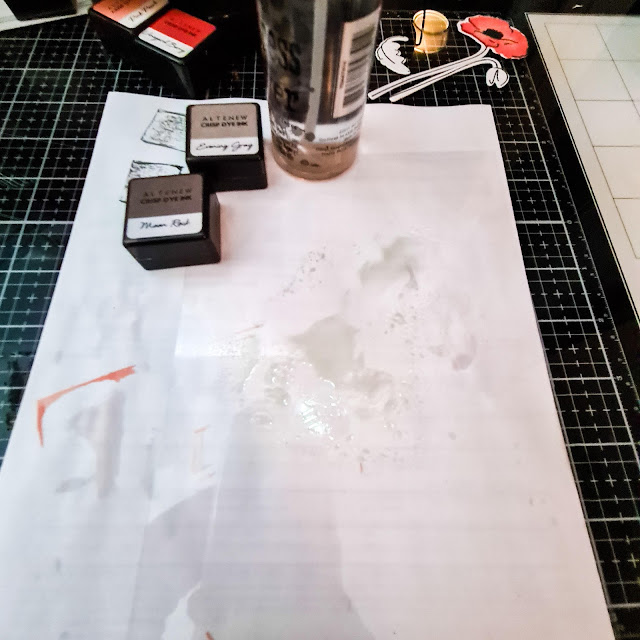
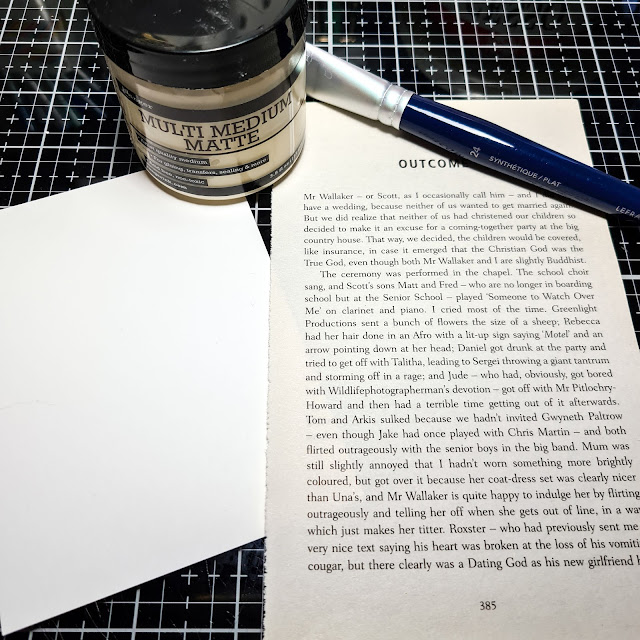
I started with a piece of 80lb white cardstcok, a torn page from the very back of a book (as that page wasn't part of Bridget Jones' story, so it was all good lol) and some multi medium matte adhesive. This was going to act as my glue/sealant to adhere my book page to my cardstock. Although I was planning on using some water on this page later, once I add the Gesso it will act as a protector and barrior between the paper and water, so the water will not warp nor affect the paper.
I ripped the book page on all 4 sides, so it has that torn look all around. I then started to add a very light layer of my adhesive using a damp paintbrush, to help and move the gel medium around easily and I also brushed a light layer on top of it as well, for that added bit of security. Once that was dry, which didn't take long, I added a thin layer of Gesso on top of it. This helps to blend the book page into the cardstock a bit and it also acts as your primer and barrior for the rest. I allowed that to dry fully, whicht didn't take long as I applied a thin layer.
Next came the ink smooshing. I wanted to to have a neutral feel to it and also kind of keep in theme with the torn book page, bc to me it always has a vintage vibe, so I decided to use the
Warm Grey Crisp Due Ink family. I grabbed a piece of acetate and used that for my smooshing. I find that really is very practical as you can pick it up and place the ink exactly where you'd like it. I started with the lightest shade and worked my way to the second to last darkest ink pad, as I didn't want it too dark. I added them in layers and made sure to dry them each in between with my heat tool.
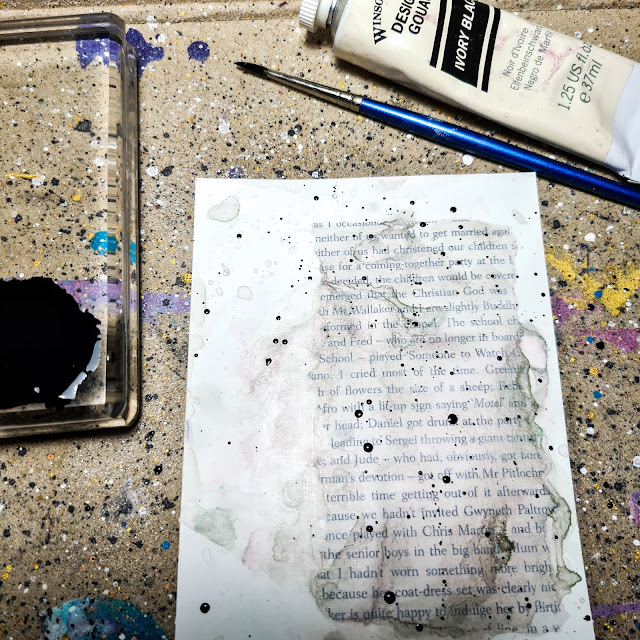
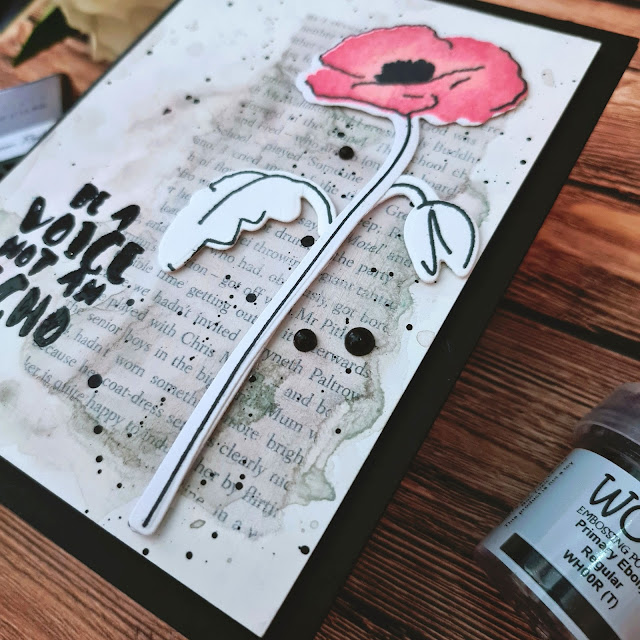
Once that was all done and dry I added in some flecks using black Gouache. I used to use black watercolour for this, but it was never the same degree of blackness and I was going through it very quickly, as I like to add black flecks to almost everything lol. So I recently rediscovered this tube of black gouache as well as lots of other colours and have been using that ever since...you get a beautiful shade of black everytime! I add a very small amount to a clear acrylic block, add some water to thin it out and then pick some up with my paint brush and start flicking away. Works like a charm!
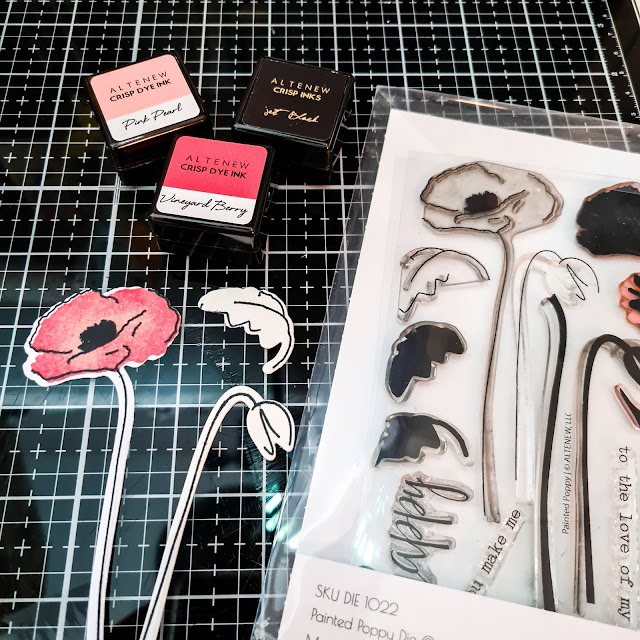
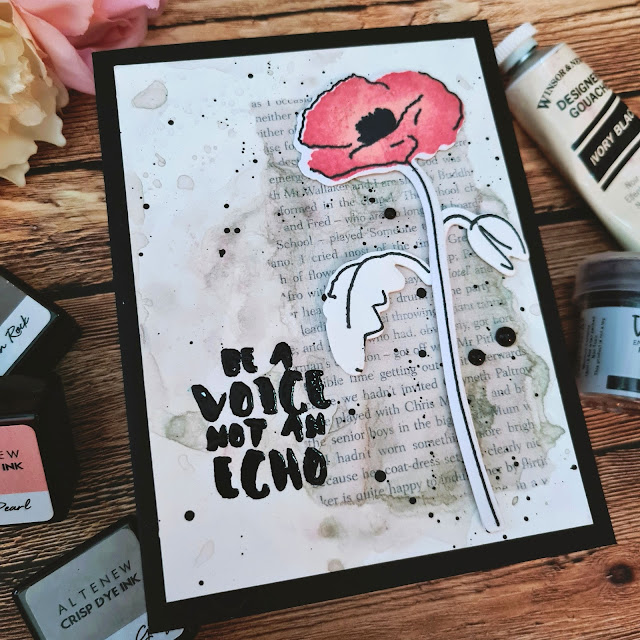
For the flower I stamped and cut out the 2 poppies from the Layered Poppy Stamp set. For the large flower I only used the main layer. I started with Pink Pearl and then added some Vineyard Berry ink from the Tea Party Ink Crisp Dye Ink family around the edge of it to add some interest, without using the second layering stamp. For the stem and leaves I decided to leave them black and not add any other colour to them, to keep in theme with the rest of the card and to allow the flower to pop. I used Jet Black Crisp Dye ink for the stem and leaves.
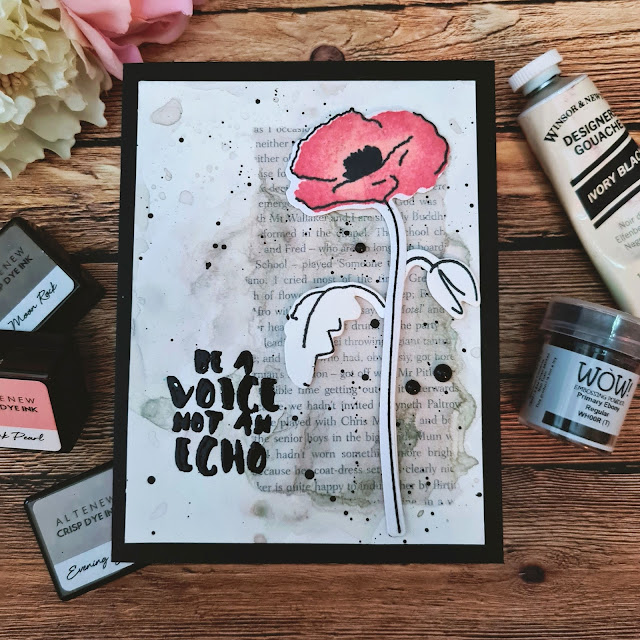
I black heat embossed the sentiment from the
Painted Inspiration Stamp Set and then added it to my black A2 cardbase using some black craft foam. I added the leaf and flower bud diecut to my main poppy image and cut down some small pieces of clear 3D tape to adhere the flower to card front and then finished it with some flat back pearls.
And that's it! I really enjoyed this class, delving into the fascinating world of mixed media. This is most definitely something that I am going to play around with more and get even deeper into. I hope you have enjoyed my project for today and that I have helped to inspire you a bit.
Thank you so very much for stopping by and until next...stay crafty 😀
Other Supplies Used:
- Neenah Soalr White 80lb cardstock
- black cardstock
- Winsor & Newton Ivory Black Gouache
- WOW! Heat Embossing tool
- WOW! Primary Ebony Embossing powder
- Versafine Onyx Black Ink pad
- torn book page
- Ranger Multi Medium Matte adhesive
- Talens white Gesso
- flat paintbrush and small fine paintbrush
- clear acetate sheet
- spray bottle
- black flat back pearls
- black craft foam


.png)

I am happy you enjoyed this and will be trying it again! This looks wonderful!
ReplyDeleteThank you for your support and kind words always :)
Delete