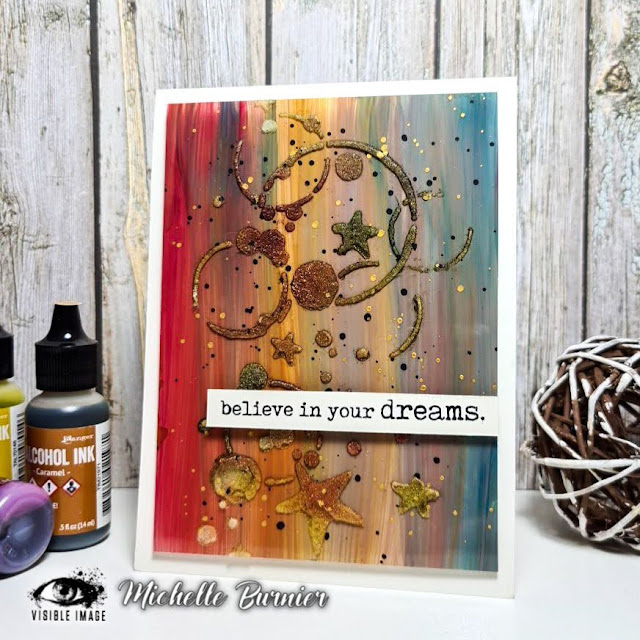
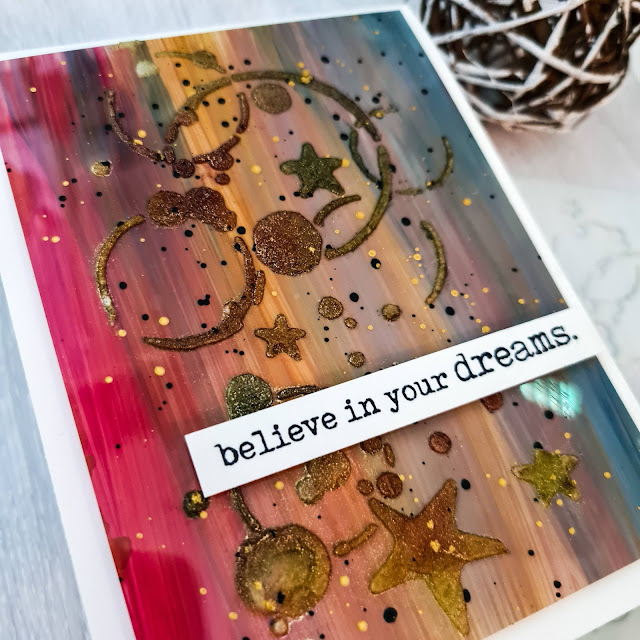
For my card today I decided to use the fun new Seeing Stars Stencil. This stencil is great as it has 2 different patterns on it. ! is the star and circle pattern I used here and the other is like a random square checkerboard type of print...both are so fun!
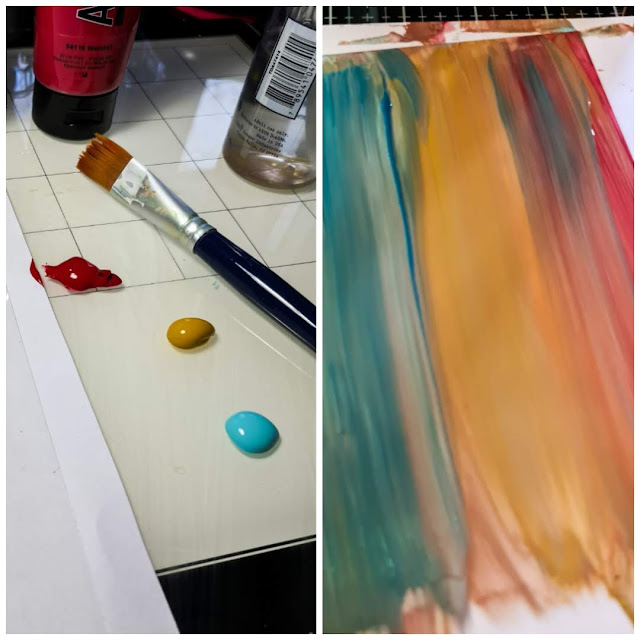 Cut a piece of acetate so it is a bit bigger than the stencil you will use. To my work surface I added 3 small dollops of acrylic paint and spritzed a bit of water of each to thin out the consistency a bit and to allow it to apply easier. Then with a flat paintbrush, I added streaks of the acrylic paints, making sure to allow the colours to overlap and blend a a bit. I added a bit of a darker blue so that would show up a more. Set that aside to dry completely. The colours may seem a bit strong, but they mellow out a bit as they dry and they will also be a bit more muted on the reverse side, which is the side that we will use. Trim to 3.75"x5".
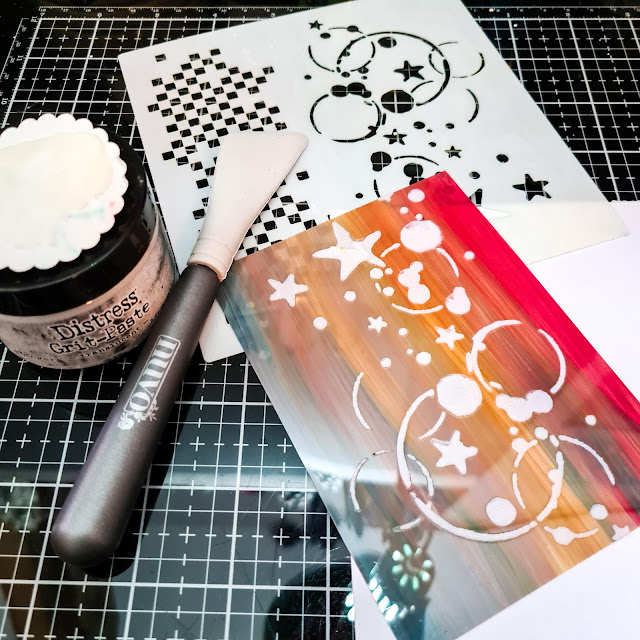
Once dry I placed the stencil back on the acetate, but making sure to turn it over, using the unpainted glossy side. Adhere your stencil overtop making sure to mask any areas that are exposed to the stencil and add the translucent Distress Grit-Paste. Set that aside to dry completely....that is very important that it is fully dry.
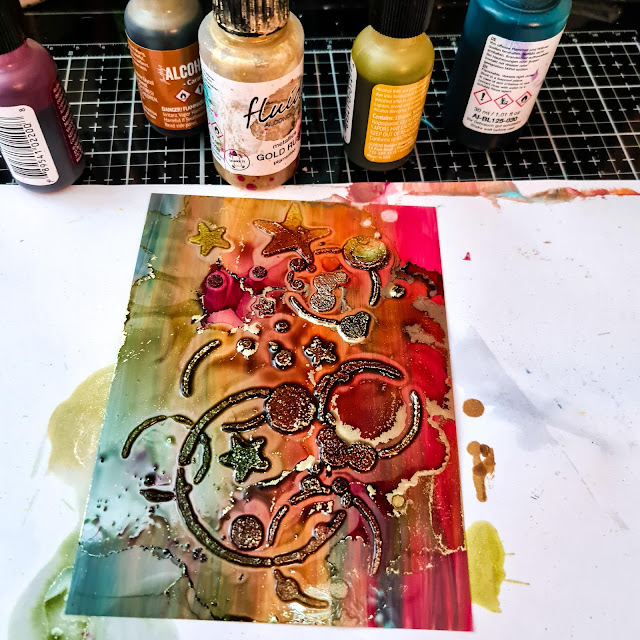
Once dry add a bit of of alcohol on top of the stencilled piece, a few drops of alcohol ink and a metallic. Allow the inks to move around and blend a bit. I promise that it will get worse before it gets better lol. Before it is completely dry start to dab up the excess ink with a paper towel or a rag. The inks will have absorbed into the dry paste, so don't worry...any ink in the past will remain there. Take a clean Q-Tip or paper towel, dip into some alcohol and try to clean up any excess metallic ink that has dried on the acetate. Be careful to be a bit more cautious as not to remove any of the paste, as if you go over too many times with the alcohol, your paper towel or rag can pick up some of the dried paste. Or go ahead if you like the distressed look to it. A subtle sparkle from the metallic will get picked up in the paste and it is really pretty!
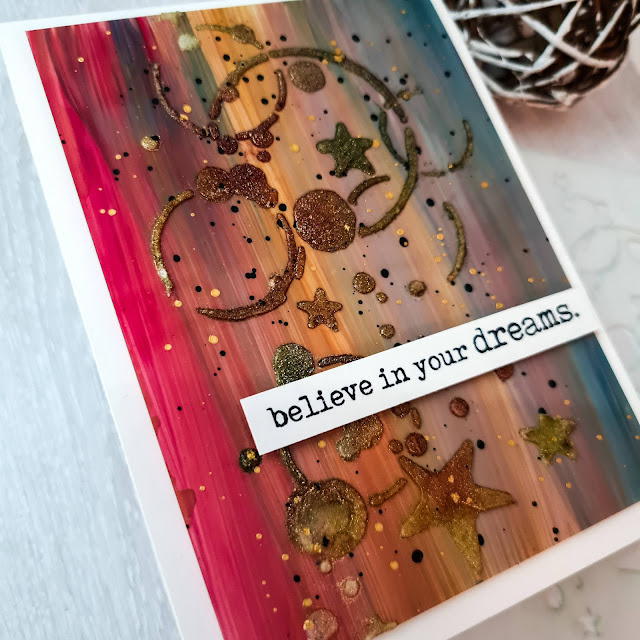
Add some flecks of black and gold paint. I stamped out the sentiment using black ink from the Affirmations Stamp set. Trim the sentiment down and adhere using foam adhesive. Add the whole panel to am A2 (4.25"x5.5") sized card base.
I really hope that this has helped to inspire you. Be sure to head over to their website and check out all of the awesomeness that awaits you there! Thank you so very much for stopping by and I wish you all a most wonderful and crafty day!
Until next time,


.png)
Be First to Post Comment !
Post a Comment