
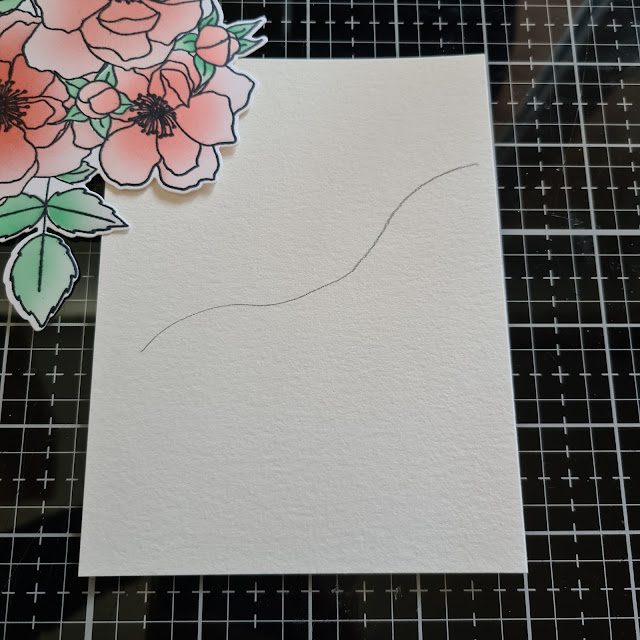
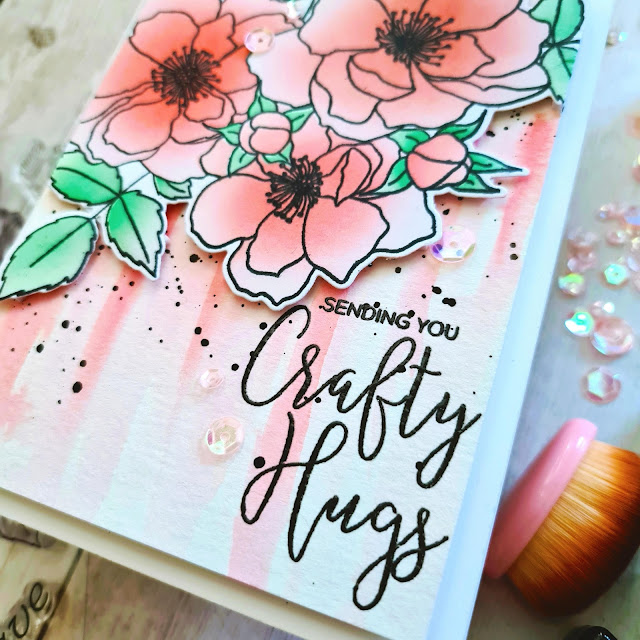
Once I had my ink blending done, I went back over the image once more with the black ink to bold up the image, as the ink blending had kind of softened the lines a bit. (I had kept the stamp in my stamp positioner for this very reason). For my background I placed the die cut floral approximately where I wanted it and drew a line a bit further up where the bottom of the flower would be. This was so that I knew where to start the drips of watercolour paint.
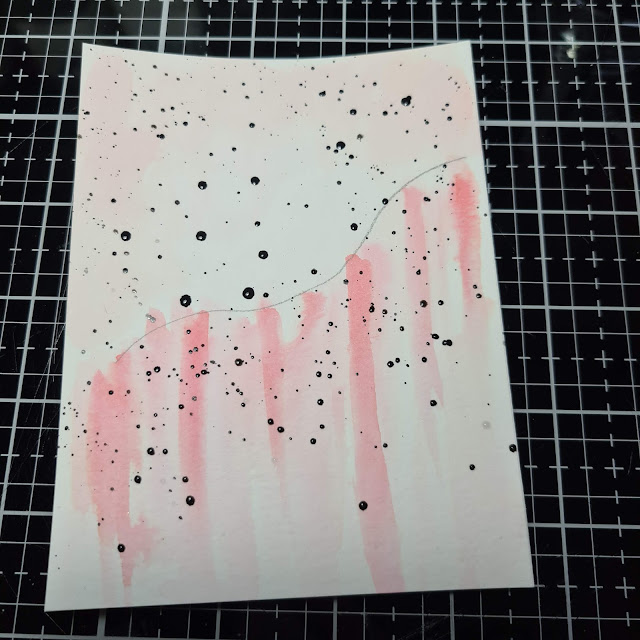
I took a piece of acetate and smooshed Pink Pearl, Coral Bliss and Heart Beat on it and spritzed them with water. I started by adding random stripes of water from the line down to the bottom of my watercolour paper using my Watercolor Brush Marker and then some of the different smooshed inks, so that they would kind of trickle down the striped of water added. I started light and then gradually got darker. For the darkest colour I kind of added stripes of it and then went back over them with my wet brush with just clean water on it....going wet to dry paper. I then did a wash of the lightest colour at the top of the paper, where it would peek through.
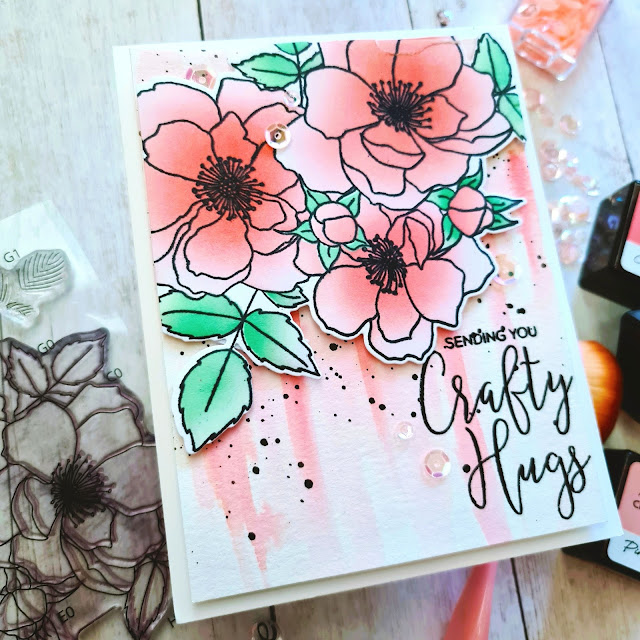
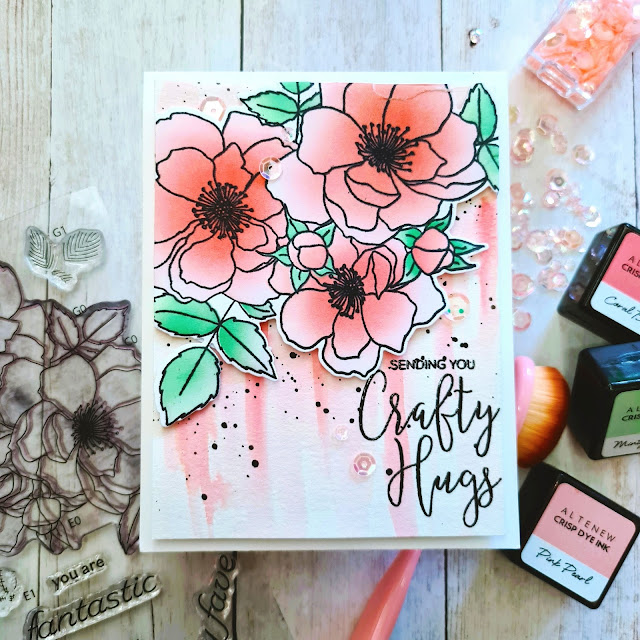
Now this is where my little boo boo happened (you can see it at the edge of the top of the card on the floral)....right before I added the sequins and the panel to the cardbase. For some reason I didn't cut the watercolour paper properly and it wasn't even all the way around. This was really bugging me so, that I had the bright idea to trim it down at this point in the game. Note to self and a little tip...don't ever do that. I can guarantee your paper trimmer/guillotine won't be able to power through and cut all of those layers WITHOUT ripping your paper 😩😩 So although I was met with some resistance I still continued and tried to trim it. Well...a few not so nice curse words were said at this point. I really didn't want to do it all over, so I found the ripped piece and glued it back on and tried my best to add more ink blending over it to kind of hide the torn edge. You can still see it, but it is still a beautiful card nonetheless.
Anyways, I hope you have enjoyed my project for today. I really love how his turned out...mistake and all! This is such a fun technique and I will FOR SURE be incorporating it more often! This class I think was definitely one of, if not my fave and I am inspired to try so many more techniques Erum taught! She is such a thorough teacher and really takes her time and explains the techniques so well.
So seeing as this is class #5 in my level 3 that means that I am at the end of them and now just await for my final exam....eek!!! So exciting! Thank you all so very much for stopping by and joining me on my crafty journey! I hope you all have the most wonderful day and find some time to get crafty!
Until next time,

Other Supplies Used:


.png)

I think you covered up pretty well! I have tried cutting
ReplyDeletemaybe three layers and that doesn't really work!
Thank you very much :) Not sure why I thought I'd try to cut through it all lol
DeleteI think the card looks so good it's totally worth giving too someone and they should know that that's what home made is all about, not two cards ever the same.
ReplyDeleteThank you Aileen :) And what we notice other people may not. But I do love it, mistake or not!
DeleteThis card is BEAUTIFUL! As a fellow traveler on the Altenew Academy I really appreciate your full description of the process.
ReplyDeleteThank you very much...I appreciate your kind words :) I try to explain my process as well as I can, without going on and on lol
DeleteThis looks SO pretty! Your watercolour drips look perfect! I am glad you liked the class.
ReplyDeleteThank you Erum! I am so glad I learned how do to this technique...I've always loved it!
DeleteLove your card. Congratulations on finishing the classes for part 3. The watercolor drips really makes the flowers stand out. And, if you didn’t mention it I would not have noticed your “boo boo”. Beautiful. I just finished my level 3 exam. Good luck with yours. I’m sure you’ll do well.
ReplyDelete