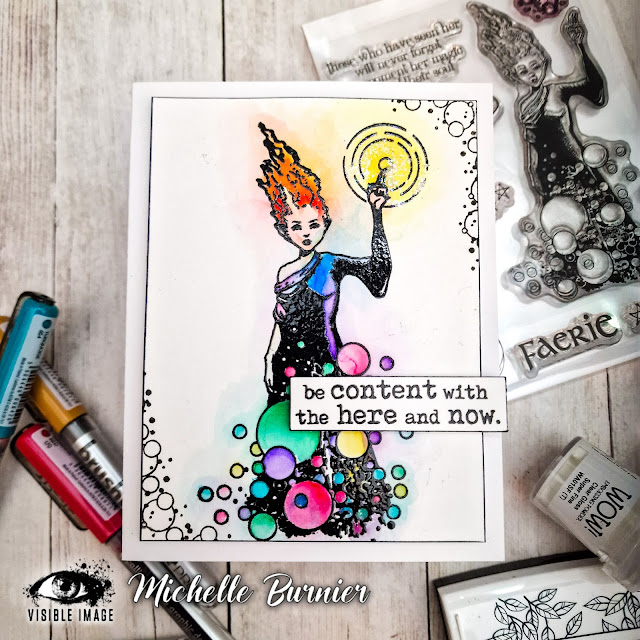
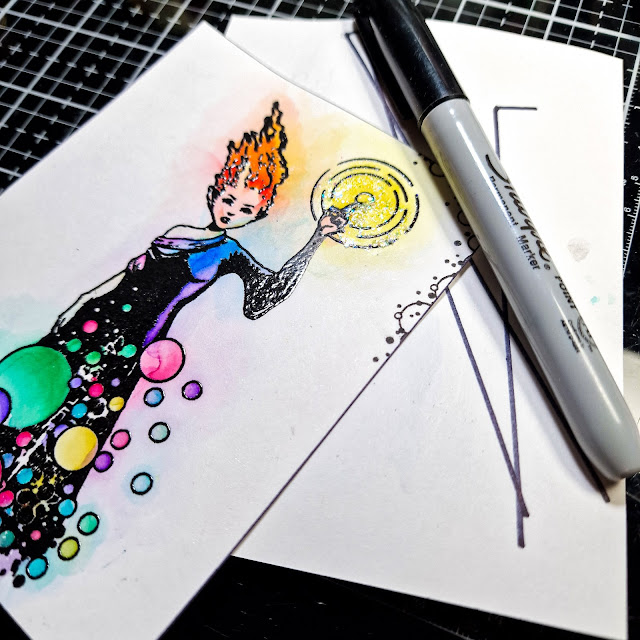
I started by stamping the image using black Versafine ink and heat embossed over it using a clear embossing powder. This combination is perfect for heat embossing black, as you won`t get the little flecks of black embossing powder, that can be a pain to remove. By using the clear powder at least if any stray bits of powder get on your project, they are harder to see as they will be clear. Once the embossing was cool I applied some liquid masking to the hand, as I wanted to add an image there and make it appear as if was behind the hand. Once that was dry I stamped and heat embossed a circle image and then peeled away the masking fluid.
I added colour to each of the little bubbles in the image using my Karin brushmarkers. This was my first time using them and I love how vibrant they and how easy it was to blend and move around the colours. I was going to keep it all nice and clean and keep the colour within all of the bubbles, but in the end I decided to lightly pull out all the color and add a bit of a halo of colour around her.
I trimmed down my panel to a finished size of 3.75x5" and went around the edges of it using a black marker. This allows you to add a black border without adding additional layers of cardstock. I heat embossed the image and added the black border using the same technique. I added it all to a white A2 cardbase and popped them up using some craft foam for dimension. I used the Affirmations Stamp Set for the sentiment.
I hope that you have enjoyed my first project for the new year...there will be plenty more to come! This is truly a beautiful image...it also comes with a gorgeous set of wings, so you transform her into the most incredible faerie!
Thank you so very much for stopping by and spending a little of your day with me. I hope that I have helped to inspire you a bit and that you find some time to sit down and create something magical! I wish you all the most wonderful and creative day! Thanks again and until next time,


.png)

Be First to Post Comment !
Post a Comment