Hi friends....I'm back to share a card featuring a very cool moth that is giving me all the Silence of the Lambs vibes! This card involves some stamping, stencilling and heat embossing. I went back and forth about whether it was maybe a bit one-dimensional, but in the end decided it perfect as is!
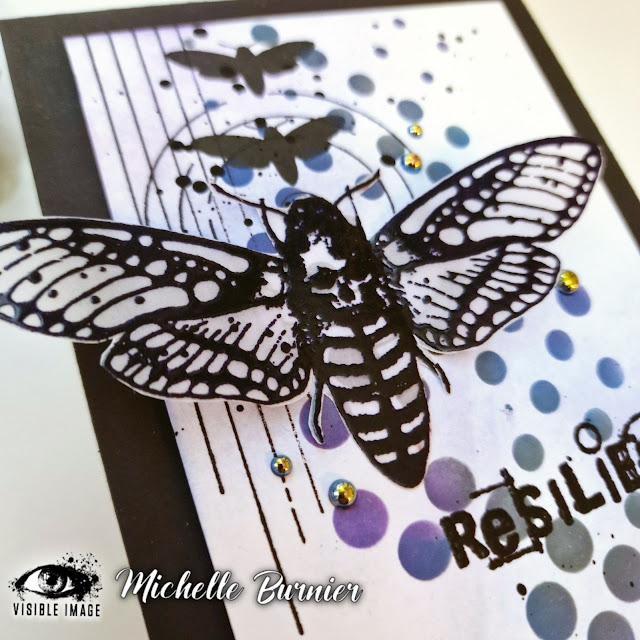
To start I used the Two Tone Stencil and masked off half of it on a white piece of cardstock cut to 3.75"x5", so that I could easily ink blend over the circles without worrying about getting ink on the other half. I blended on Black Soot, Prize Ribbon and Villanous Potion Distress Oxide Inks, being sure to not get an even coverage of any of the 3 colours, so that they could all nicely blend into the other (does that make sense???).
Next on the left side of the cardstock I stamped the lines and circle images from the Shape It Up Stamp Set and then 2 of the same solid moth image from the Glimmer of Hope Stamp Set. Did I mention how much I love these stripes!?!? They are so versatile and I can see them used with pretty much any image!
I also did a bit of light ink blending in the upper left and bottom right corners to bring in a bit more of the ink blended stencilling, using the same blue and purple oxide inks. I did this before the above stamping. However because I didn't use an ink that was meant for ink blending, some of the black ink smudged, but that just kind of added to the look of it so I went with it. Gotta love those happy little accidents!
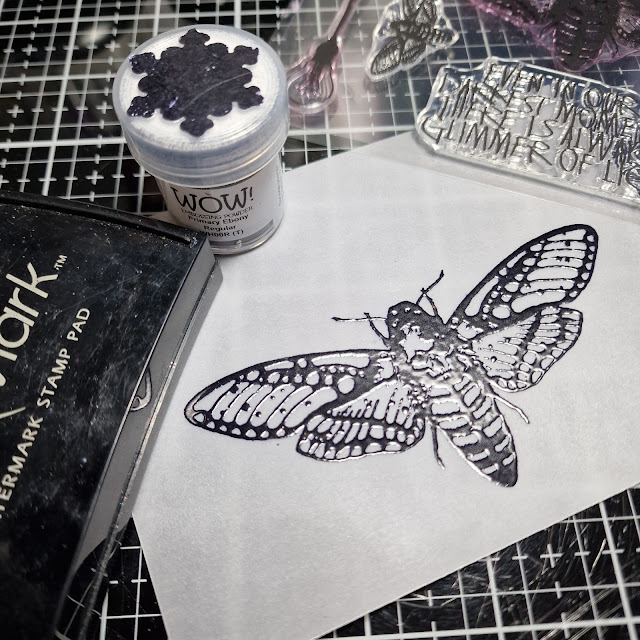
I heat embossed in black on vellum the large moth from the Glimmer of Light Stamp Set, to give it a bit of a lighter feel to it and also the vellum will allow for a bit of movement with the wings. Next it fussy cut out. I had to be extra careful with the itty bitty legs and antennas, but ended up having to do a bit surgery on one of the legs lol.
To finish it I black heat embossed the sentiment from the Dragonfly Reflection Stamp Set and added some paint flecks using black gouache to the upper left and bottom right corners...the same as the additional ink blending and also where the stamped images are. All that as was left was to add it all to my black A2 cardbase using some craft foam, adhere the moth just under the 2 smaller moth images, only adding glue to the center of the moth as this would allow the wings to have some movement and then a few iridescent black fat back pearls.
And that was it! Like I said above, I went back and forth many times unsure as to whether it needed more, more dimension, more anything...but in the end I decided nope! I loved this as it and how the polka dot stencillig kind of add a bit of a whimsical feel to the more darker feeling moth. I love how so many of the products and images from Visible Image work so perfectly together...like they were meant to!
Just look at that awesome skull detail in the middle of the moth! That is what sold on this set...I absolutely love it! I hope you have enjoyed my post for today and that it helps to inspire you in some way. Thank you so very much for stopping by and I wish you all the most wonderful day and I hope you find some time to sit down and get crafty, even if that is only 10 or 15 minutes.
Thank you and until next time,


.jpg)


.png)

Be First to Post Comment !
Post a Comment