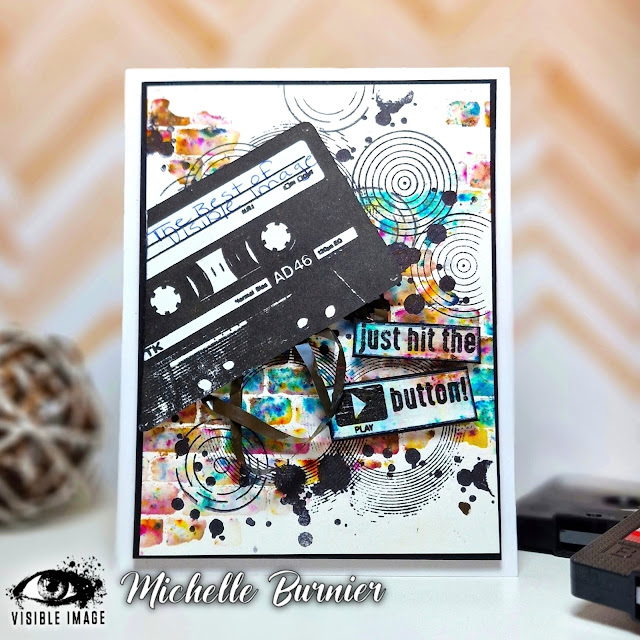
Hello and welcome back crafty friends! Today I have a fun card to share using some awesome products from Visible Image. When I saw the Just Hit Play Stamp Set I knew I had to have it! It totally brought me back to my adolescent days in the 80's! Did anyone else used to sit around by their stereo back then with a tape in the player, listening to the radio all day, finger on the record button ready to make the most amazing mixed tape EVER!!! I used to love my mixed tapes but man, was it ever hard to not get that dj's voice over the beginning or end of the song lol. That is what this stamp set reminds me of and it was so fun to make this!
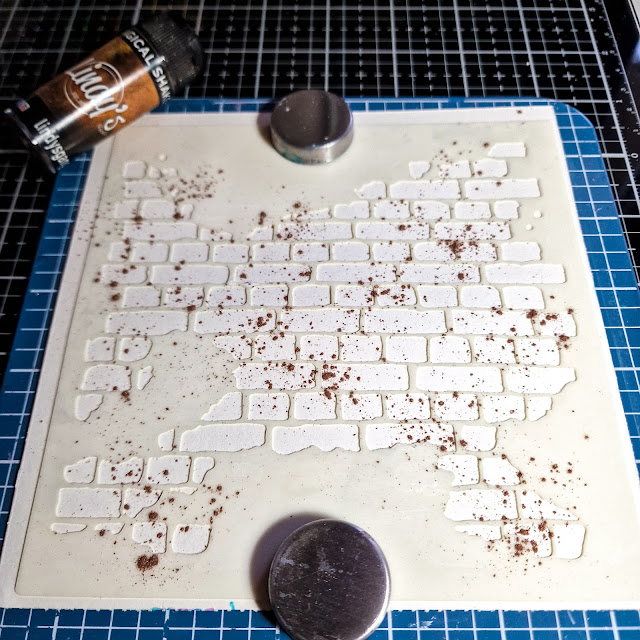
To start I sprayed the back of the Distressed Brick Stencil really well with some temporary spray adhesive and then adhered it to a piece of watercolour cardstock cut a bit larger than 6"x6". Although I would be cutting it down smaller later, this larger size at first allows me to chose exactly what part of it I'd like to use. I then sprinkled on some brown pigment powder. I only used 1 colour to begin with but then went in with a teal and sprinkled on a very small amount of that and spritzed it all with water, trying not to add too much water. Too much water and you risk getting bleeding under the stencil. Although we did spray with the adhesive, there is always the possibility that some can escape and get under there.
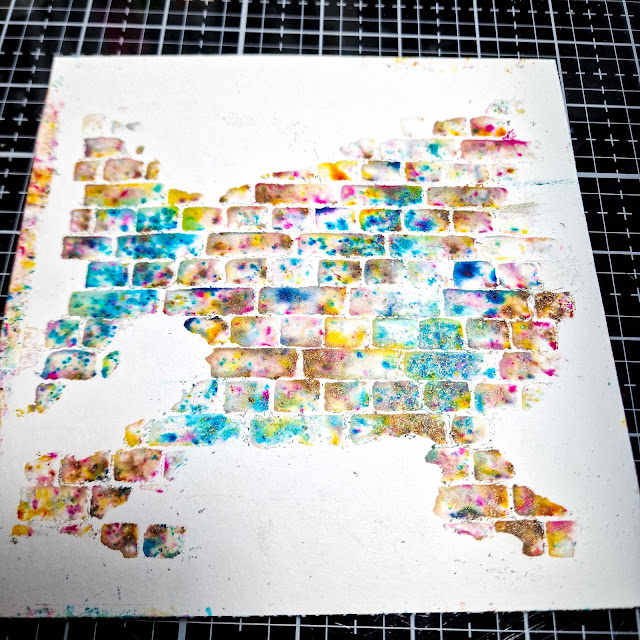
I absolutely love how this looks! Hard to believe that I only used 2 colours! I set it aside and then allowed it to dry completely. Once it was dry I used my fingertip to gently remove any excess of the spray adhesive...I may have went a bit heavy handed with it at first lol. It rubs off really easily with your finger or even if you have an adhesive eraser. Then I cut it down to 3.75"x5".
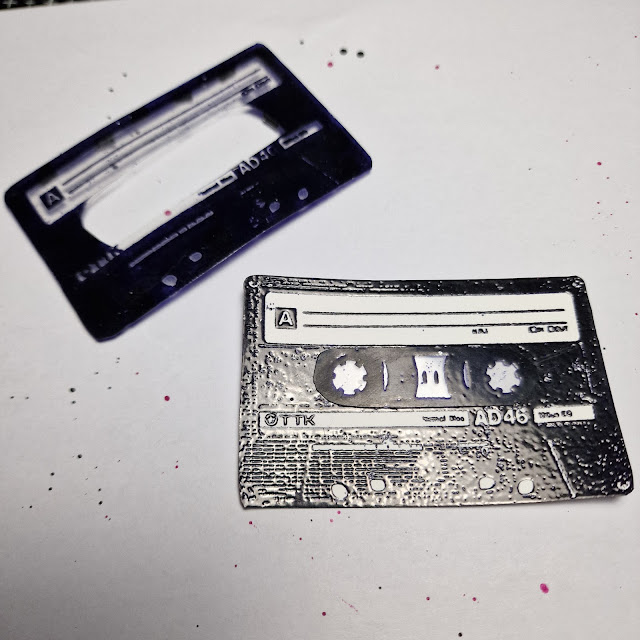
For the cassette tape, I had originally heat embossed it on clear acetate and then also on white cardstock. My plan was to cut out the middle part of it as you see above and adhere the acetate piece to the other, so that part would be see through. But that didn't work out so well, so in the end I just stamped it on white cardstock using a black ink.
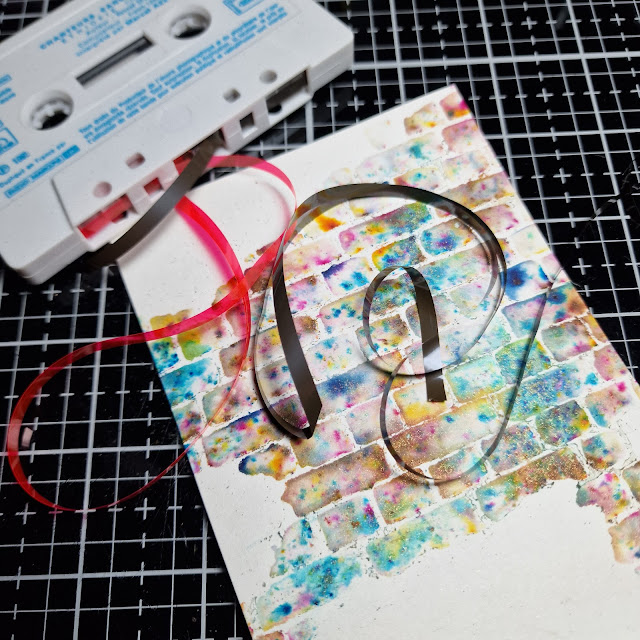
For the tape part I had in my mind to add some actual innards (is that the proper word for it?? lol) from a tape. So I headed on up to our attic and I found a few of my husbands old ones. He was actually surprised he still had some. I pulled put some of it and cut it. Sorry to the Ethiopie - Chanteurs Sans Frontieres. This was the French version of Live Aid back in the 80's.
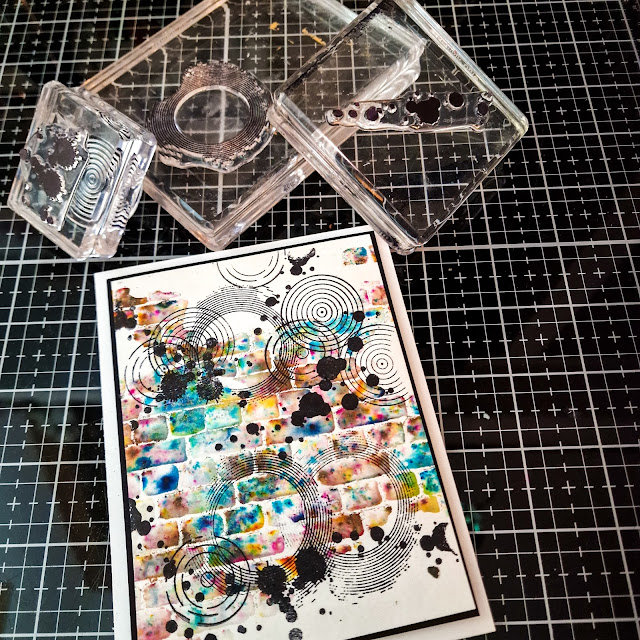
So I had my card altogther, well all but the sentiment and I realized that it was missing something....it needed more. So I carefully peeled it all away and started adding more random stamping using the Ink Splats Stamp Set and Round in Circles Stamp Set. These 2 background stamp sets are so fun and incredibly versatile! It would normally be pretty risky to stamp more images after you have it matted and on the cardbase and even more so as I used a watercolour cardstock, as you may not always get a crisp first impression because of the texture of the paper, but because I used a piece of craft foam to pop it up on my cardbase plus the black mat added a bit more stability and structure to it, it all turned out fantastic!
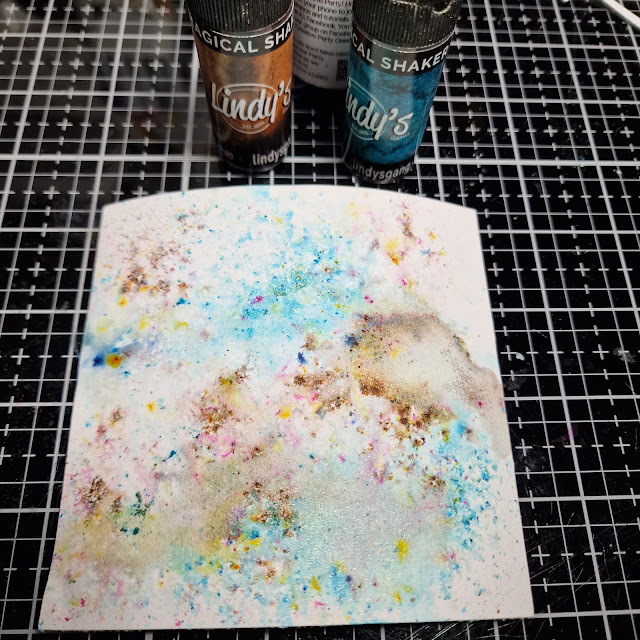
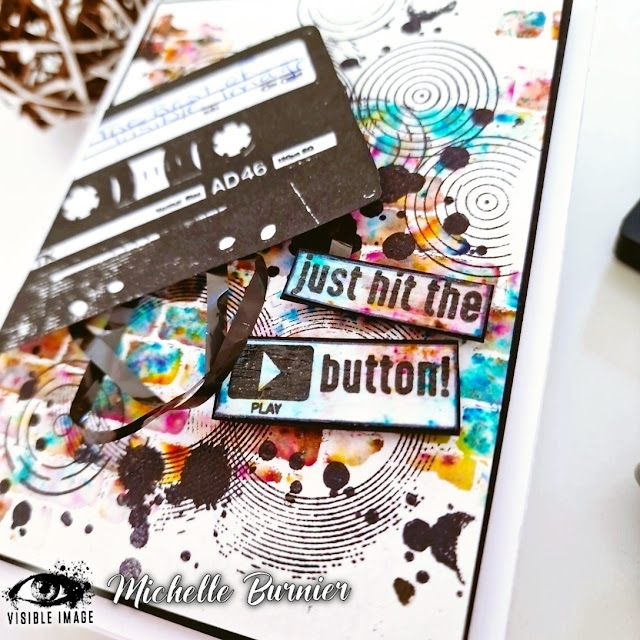
For the sentiment I wanted it to have the same kind of feel as the background, so I added a bit more of the same 2 pigment powders to some watercolour cardstock, but went very light this time. Once I spritzed it with water I dabbed some of it off, so it stayed nice and light. Once dry I added my sentiment using black ink and then cut it apart to to use only certain words of it and then brushed on a glossy product that is similar to glossy accents. I allowed that to dry and then added a small layer of black cardstock under the 2 pieces of the sentiment.

I added the cassette tape on an angle and cut a bit of it off that hung over the side and the added my tape innards under it, to make it seem as though it got stuck in the cassette tape player...oh how I remember that well lol. Added my sentiment and that was it.
I had so much fun making this card! I hope that you head on over to the shop and check out all of the amazing stamp sets and stencils they have! Thank you all so much for stopping by today. I hope that this has inspired you a bit to get crafty and step out of the box a bit and try something new!
I wish you all the most wonderful and crafty day! And until next time,

Supplies Used:


.png)

Be First to Post Comment !
Post a Comment